
Brandon Woelfel
Whilst browsing Youtube I stumbled across a tutorial that detailed how to edit like Brandon Woelfel in Lightroom. Having seen his work in the past I thought I would give it a go considering how unique some of his images are. The direction was very simple to follow and I felt that the final outcome in the video matched the results Woelfel manages to achieve in his own images quite similarly.
Youtube Tutorial
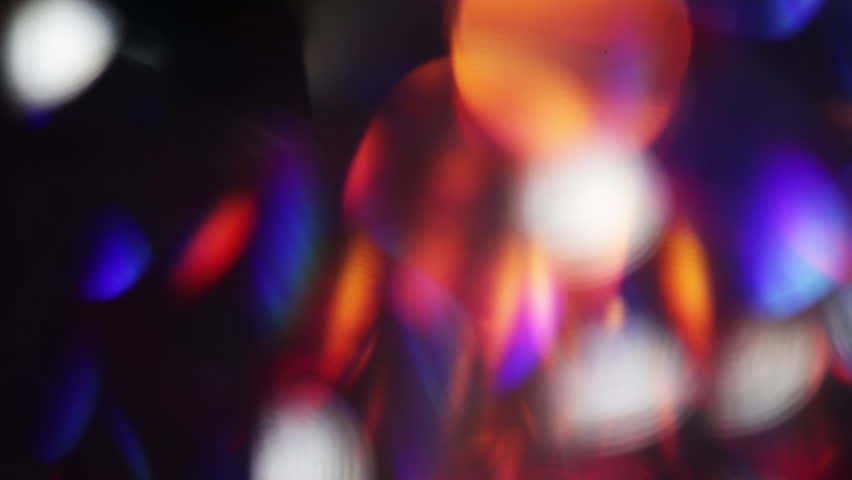
At the core of many of his images are teal and pink colours, in addition to a large emphasis on bokeh caused by various surrounding light sources.
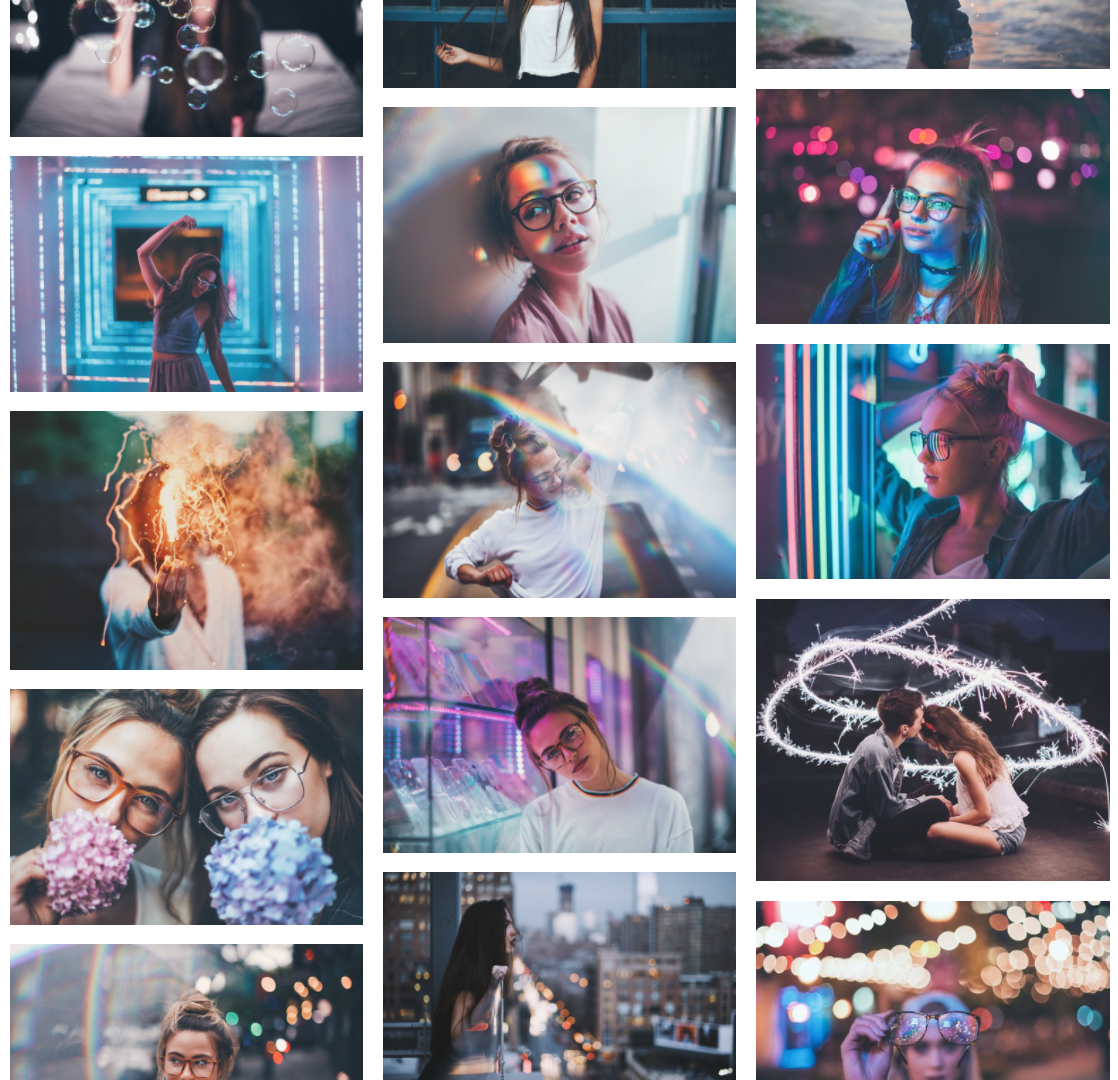
Various images from Woelfel's online portfolio.
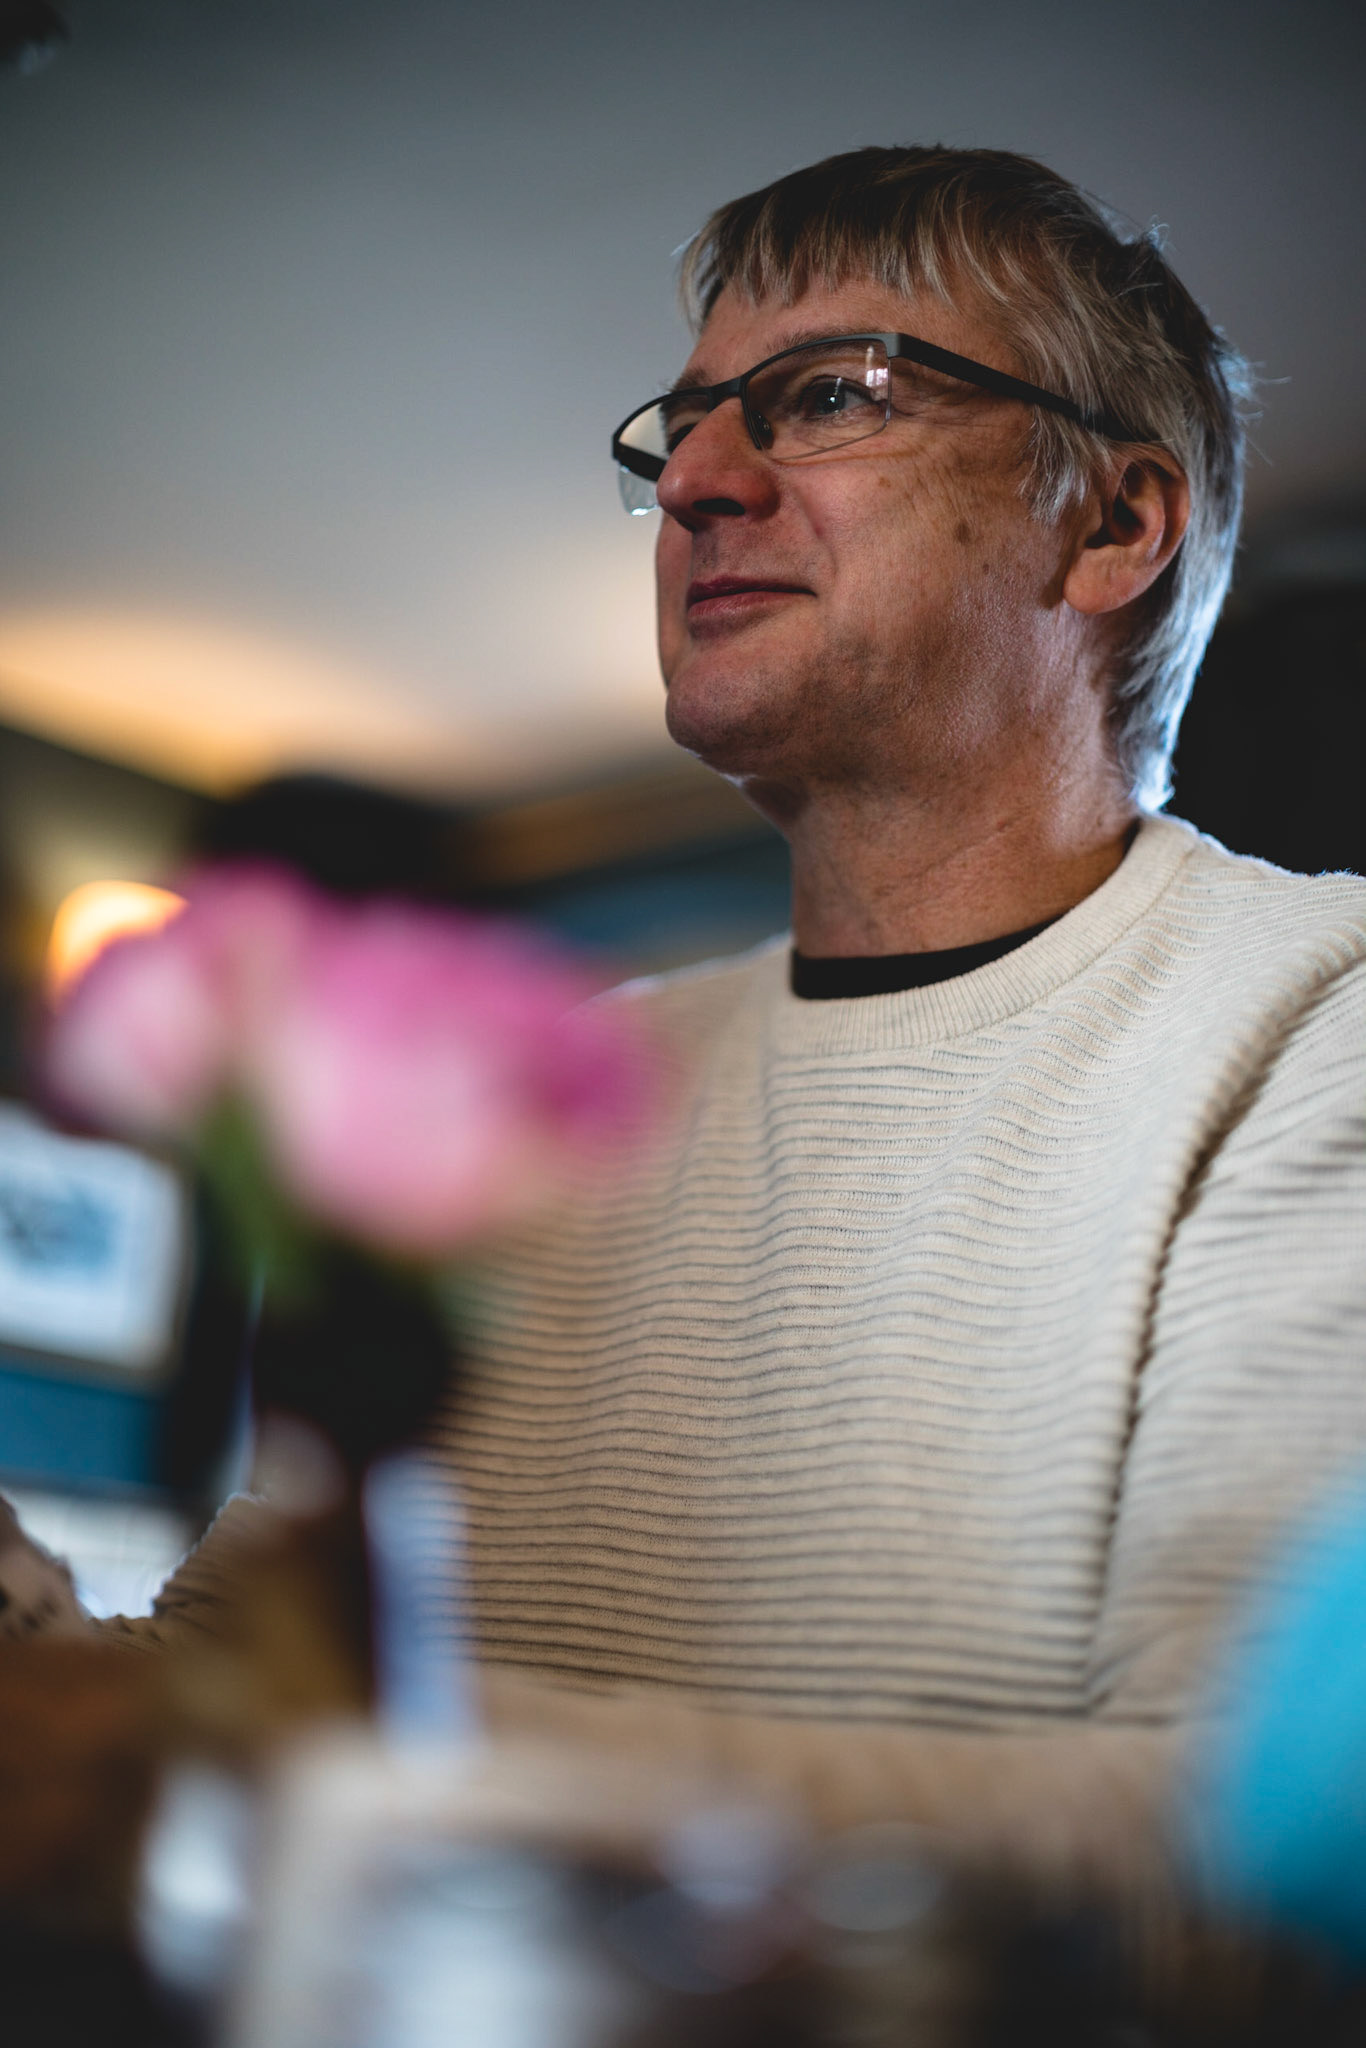
Original Image
Original Image and edit.


When I originally uploaded the image to Lightroom I applied some changes to improve upon the RAW file. These are the areas I made small tweaks to.
Initial Woelfel Stylised Edit
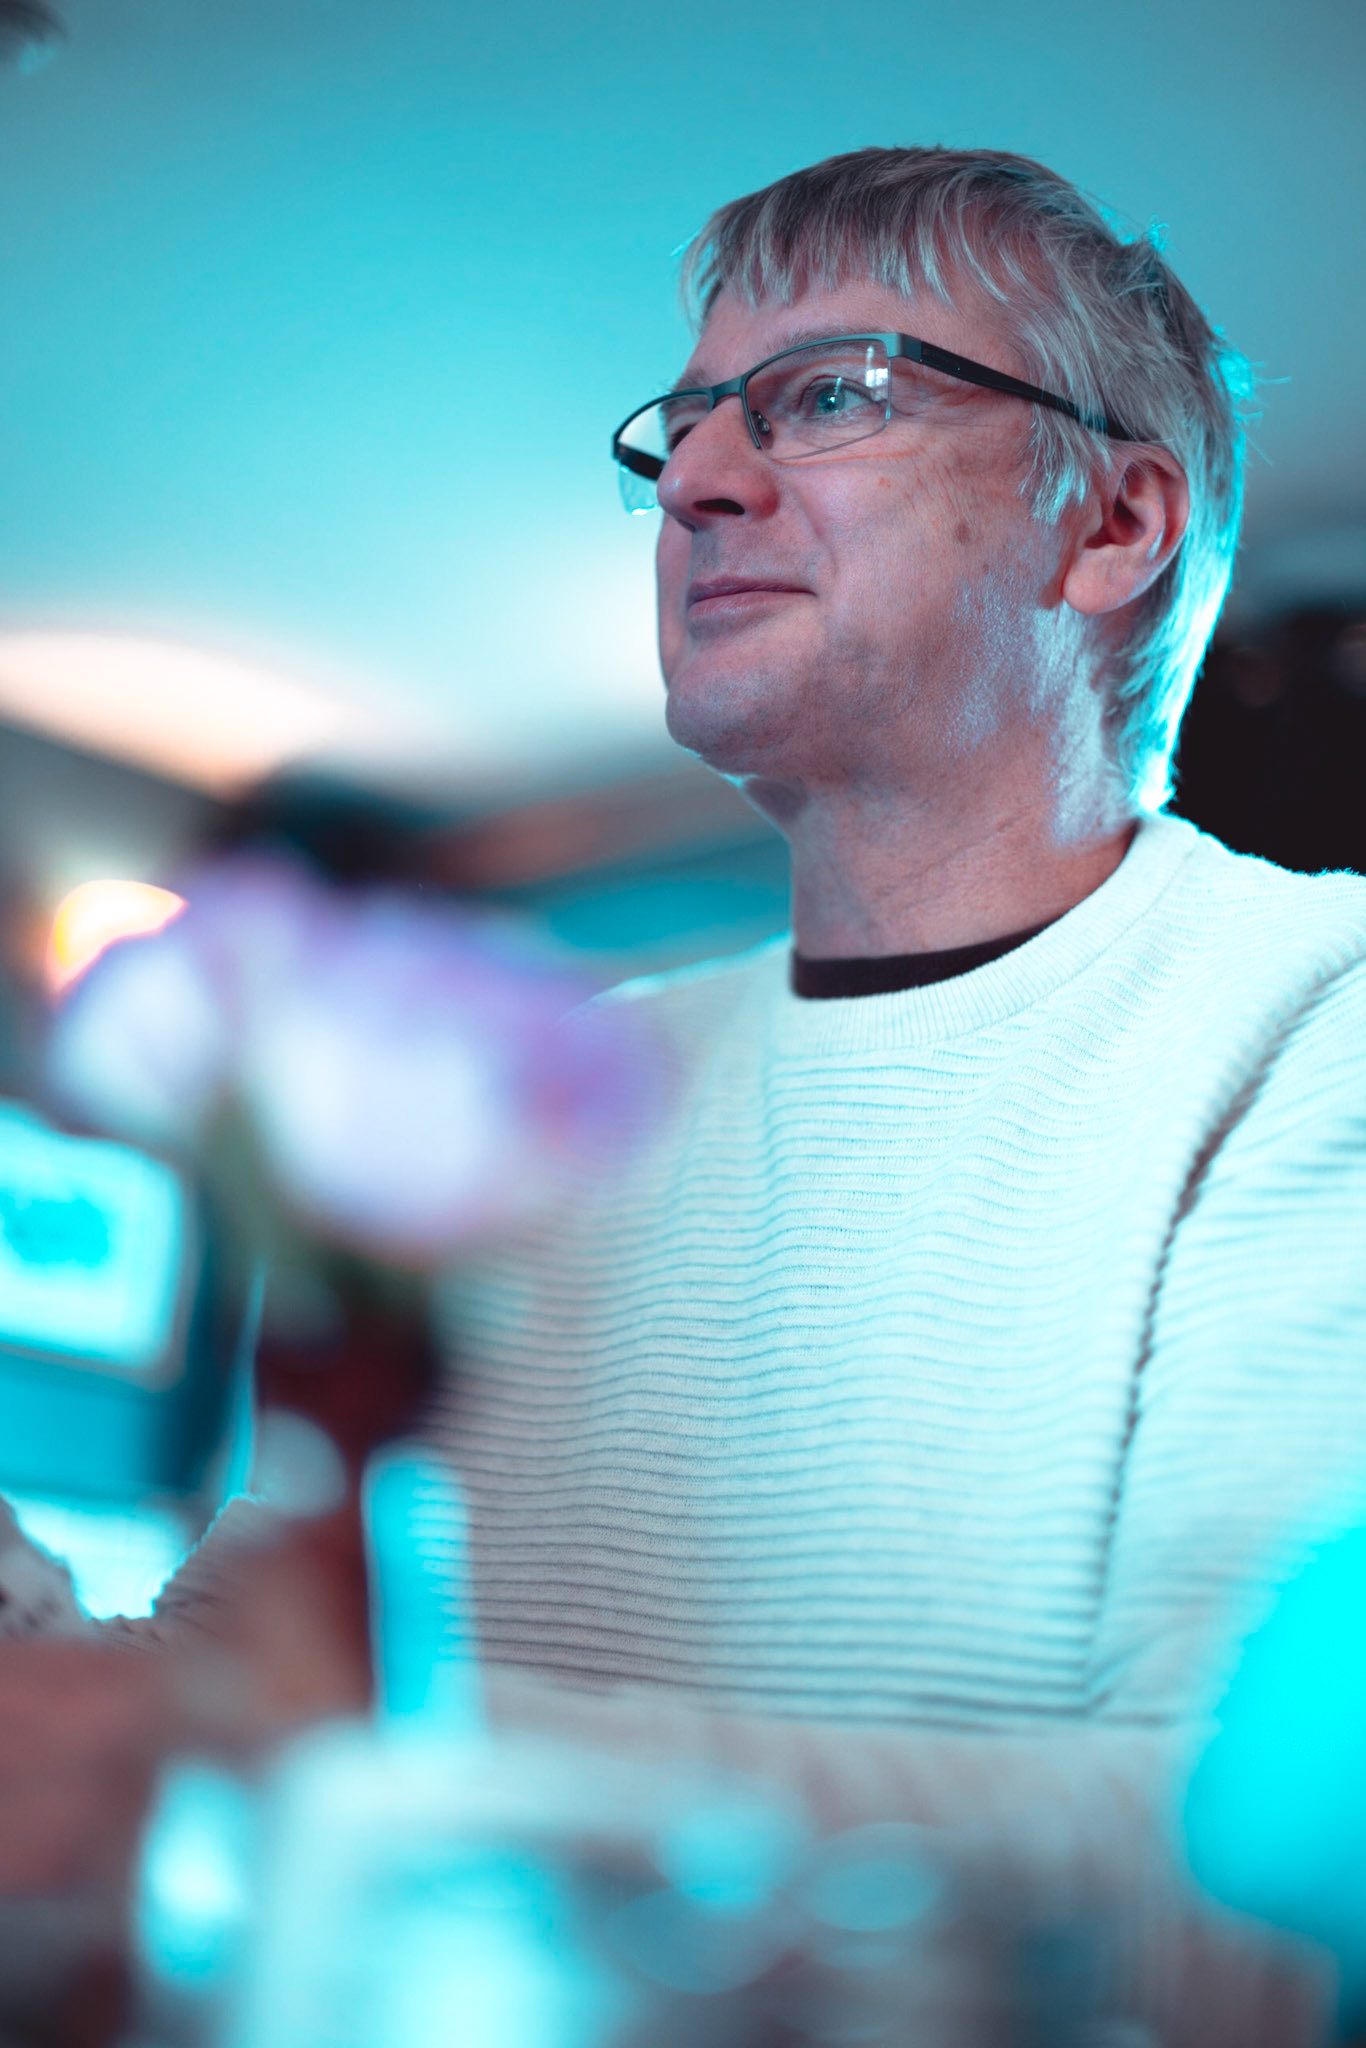
Initial Lightroom edit.
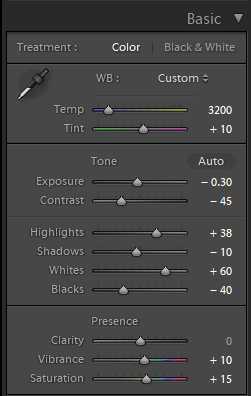

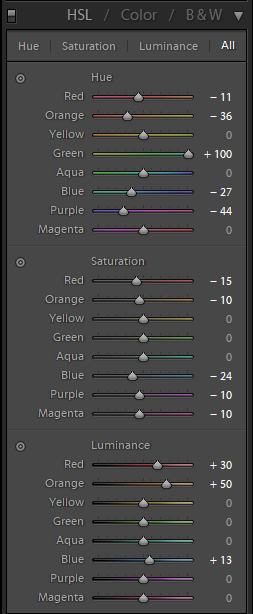
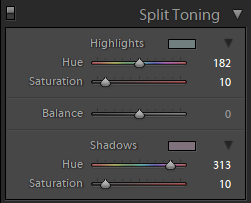
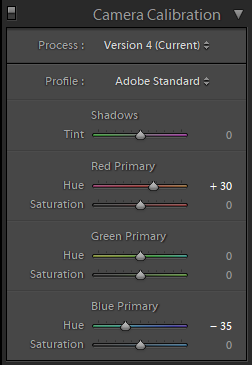
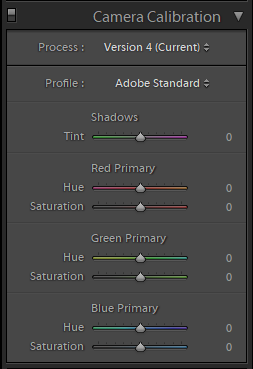
To really push Woelfel's style I had to make some major changes to the tone curve and in particularly the hues. By lifting the highlights and shadows I could create an image that is bright and flat. By playing with the HSL section, I could give the image a very distinct aqua and pink hue. This effect was also made possible by lowering the temperature of the white balance and raising the tint closer to the pink and purple side.
Adding Bokeh


Woelfel Homage.
Failed Attempt

This is another example of an image that I attempted to convert into a Woelfel style image. Even with additional tweaks, the lighting conditions at the time meant that it didn't convert as well.
References
Woelfel, B. (2017). Photography. [online] Brandon Woelfel. Available at: http://www.brandonwoelfel.com/photography-1 [Accessed 28 Nov. 2017].
YouTube. (2017). HOW TO EDIT LIKE BRANDON WOELFEL | LIGHTROOM COLOURGRADE TUTORIAL. [online] Available at: https://www.youtube.com/watch?v=ZaP48rWHaFc [Accessed 28 Nov. 2017].