
In its most basic form the colour wheel we all know has three layers; Primary, Secondary, Tertiary. This is represented by the inner, middle and outer layers, respectively.

Cousins, C. (2017). Types of Colour. [image] Available at: https://tympanus.net/codrops/2012/02/28/principles-of-color-and-the-color-wheel/ [Accessed 4 Oct. 2017].
Colour harmony helps create an aesthetically pleasing arrangement of colours and defines a mood.
Complementary - opposite colours on the wheel
Split complimentary - uses base colour and then two colours either side
Triadic - using 3 colours that are evenly spaced
Analogous - colours that sit next to each other on the colour wheel
Colour proportions
The hotter the colour,the lesser the proportion that it should make up the colour harmony
Yellow is the most vivid colour to the naked eye and therefore should feature the least amount so that it doesn't dominate the rest of the colours.
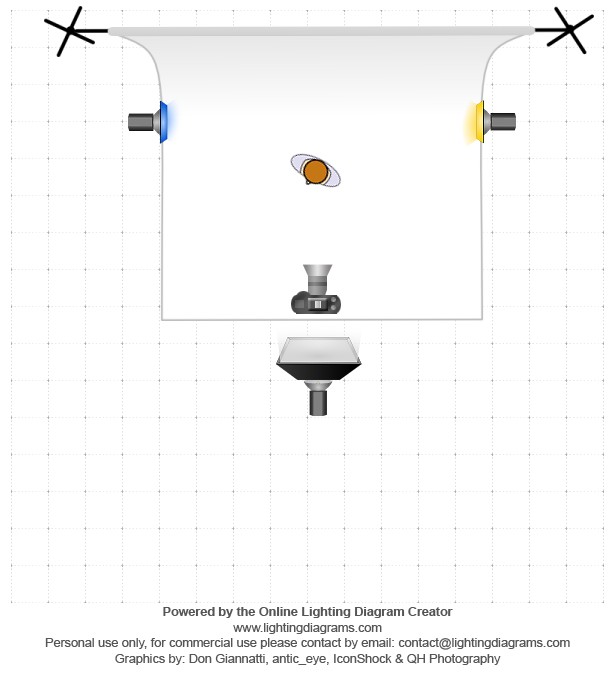
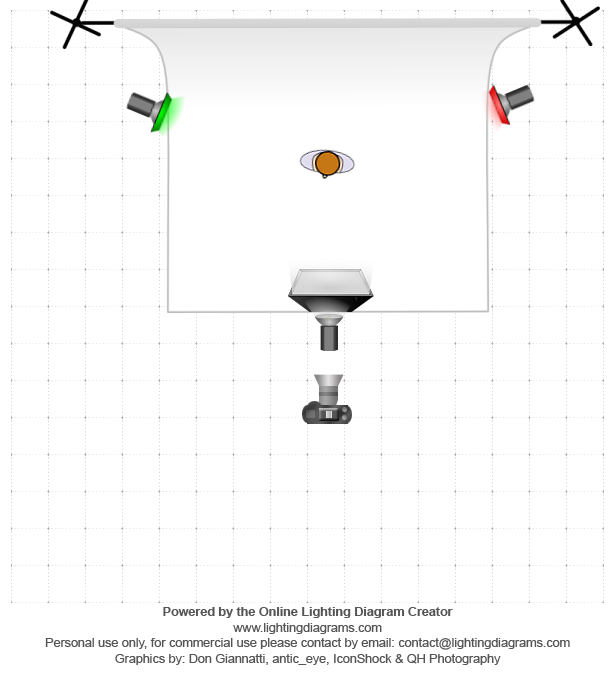
Using Gels
Below is the essential checklist that we went through in session to ensure that we produce a proficient set of images;
- Using a grey background.
- A black background will not reflect the colours as well.
- Lower the light and place the barn doors onto the attachment.
- Using a dark filter will require a stronger light to push enough light through.
- For gel shooting, shoot one light at a time.
- Get the gel covered light correct first.
- Take a test shot of the background to get a feel.
- Don't forget to turn the modeling light down so that you don't melt the gel slide.
- Pull the light back to allow the light to spread out evenly.
- Reposition soft box so that you are not washing out the gel.
- Shooting at 50mm minimum.
- You can turn your light around to highlight the edges of your subject. Edge Lighting.
- Be careful of lens flare though.
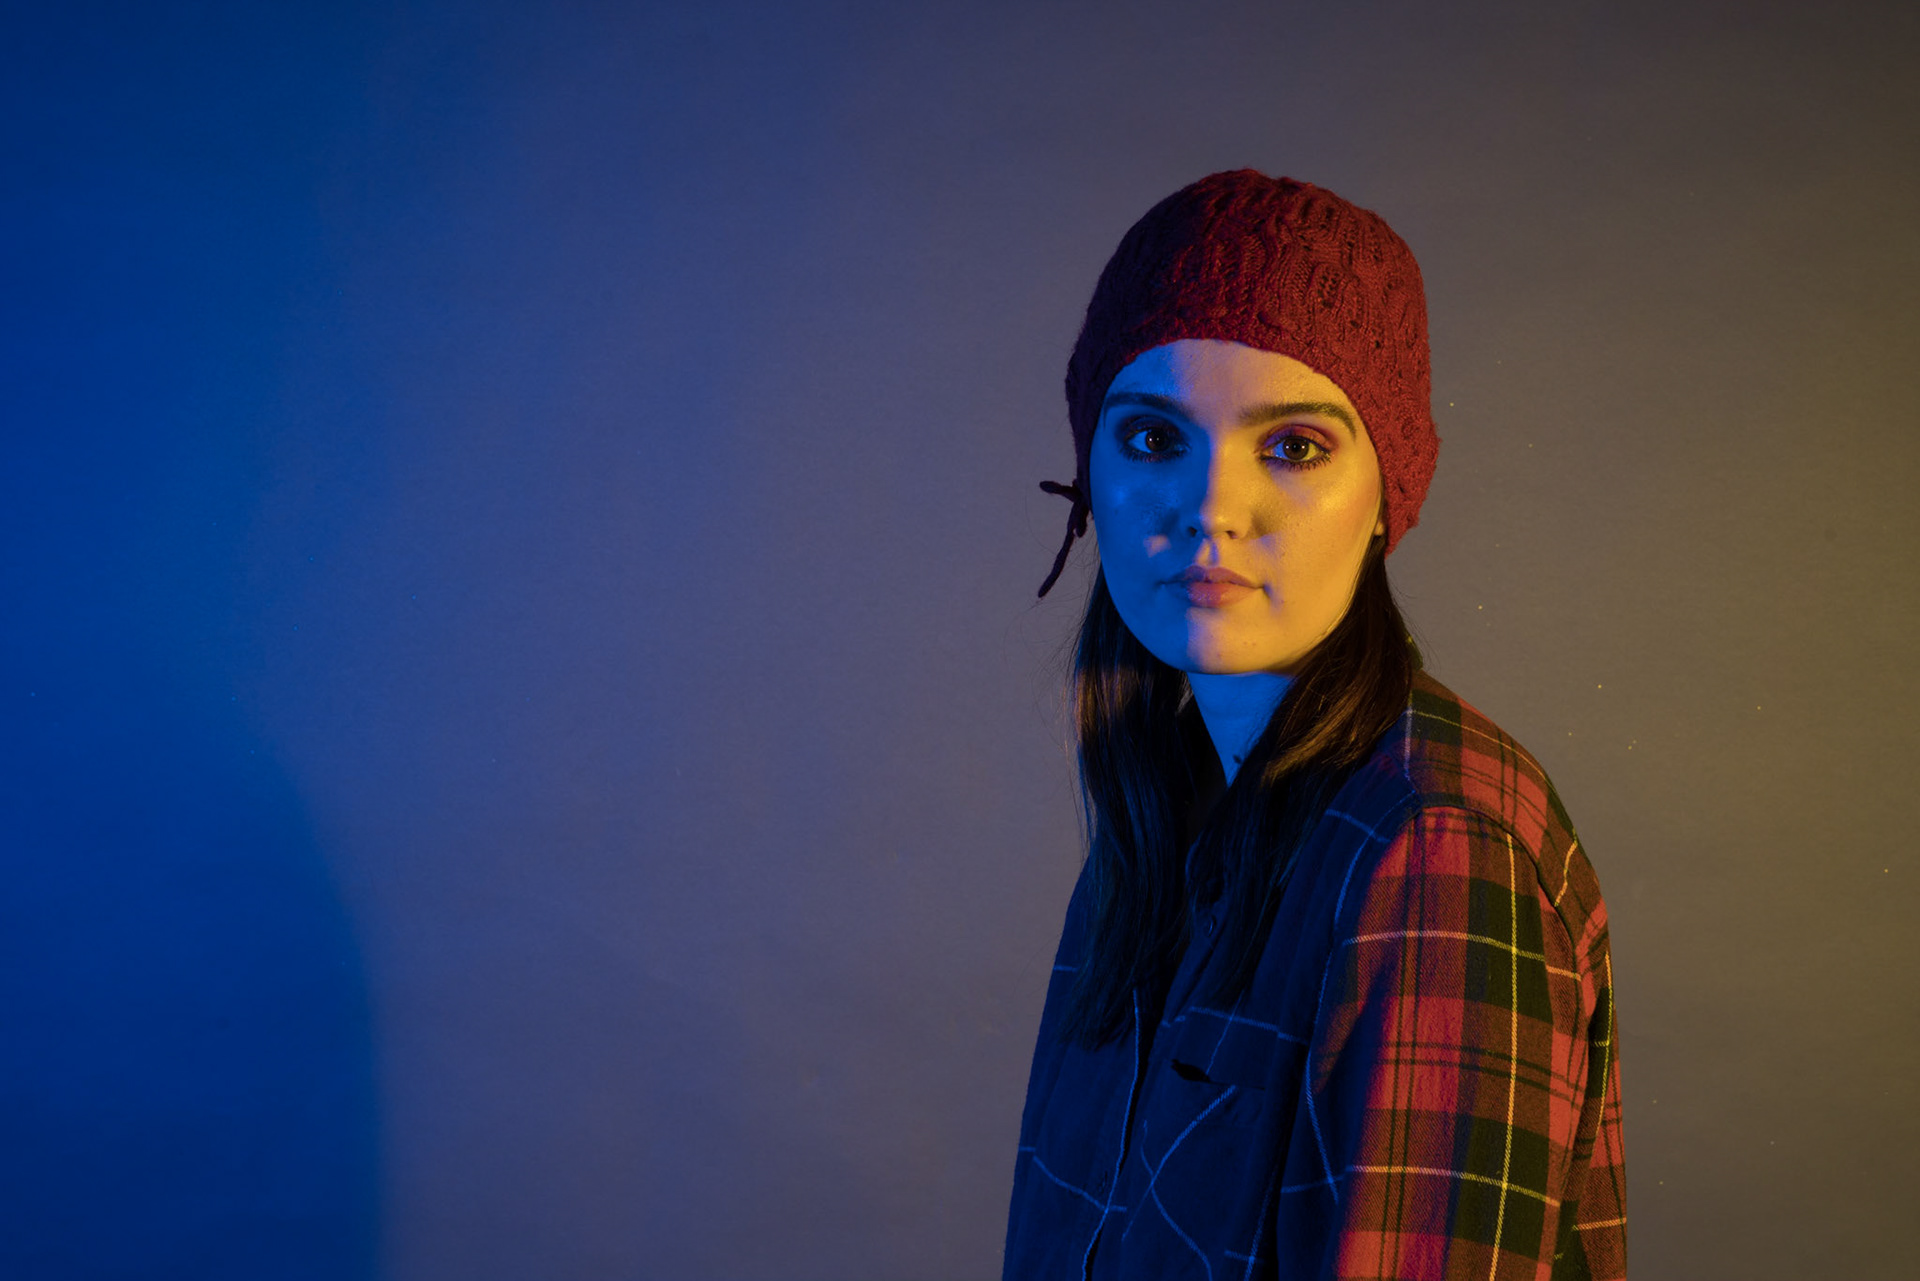
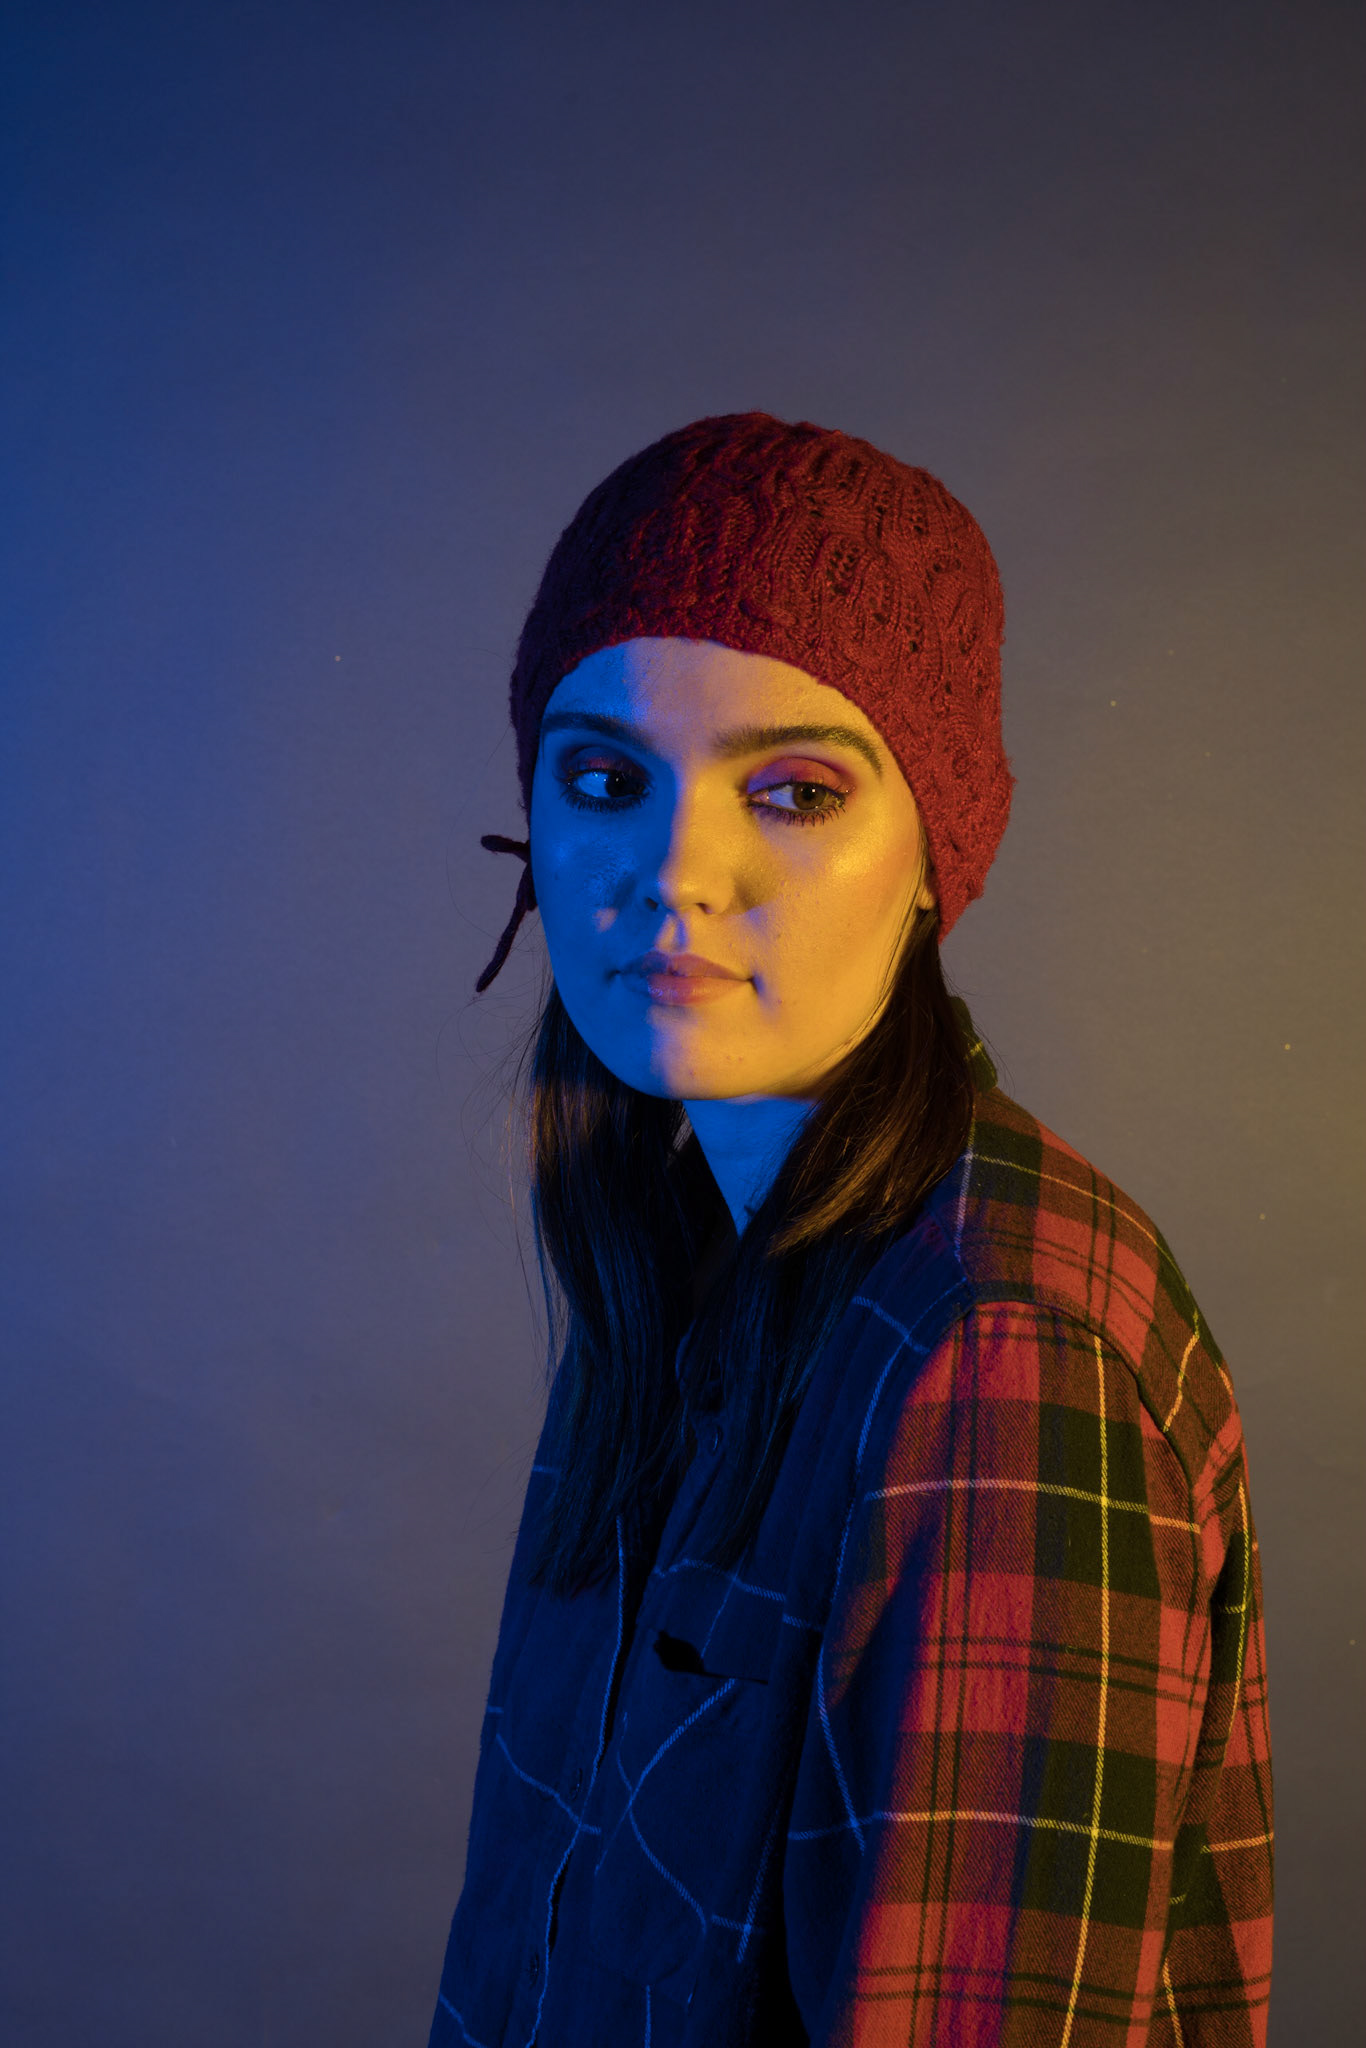
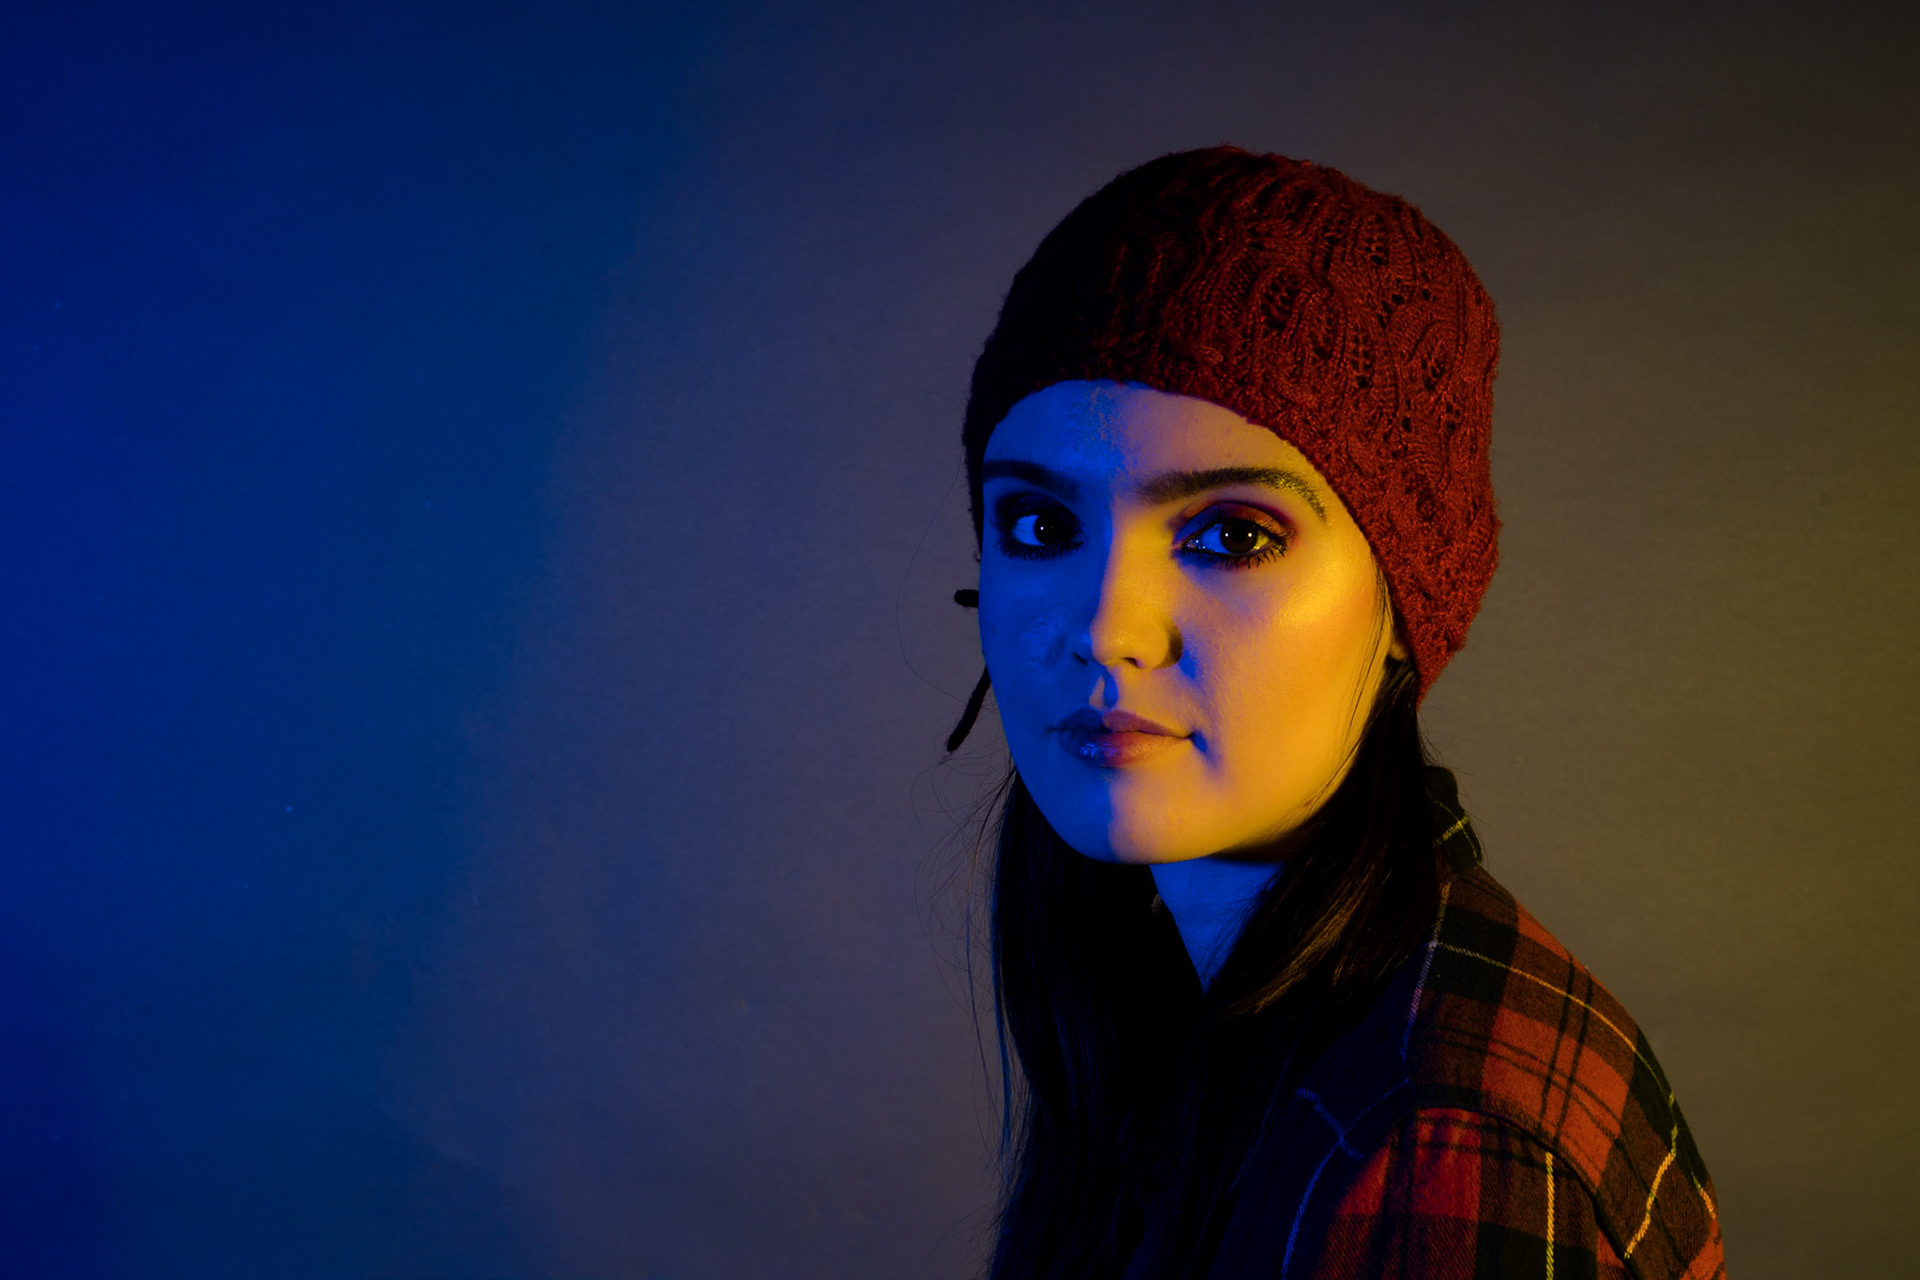
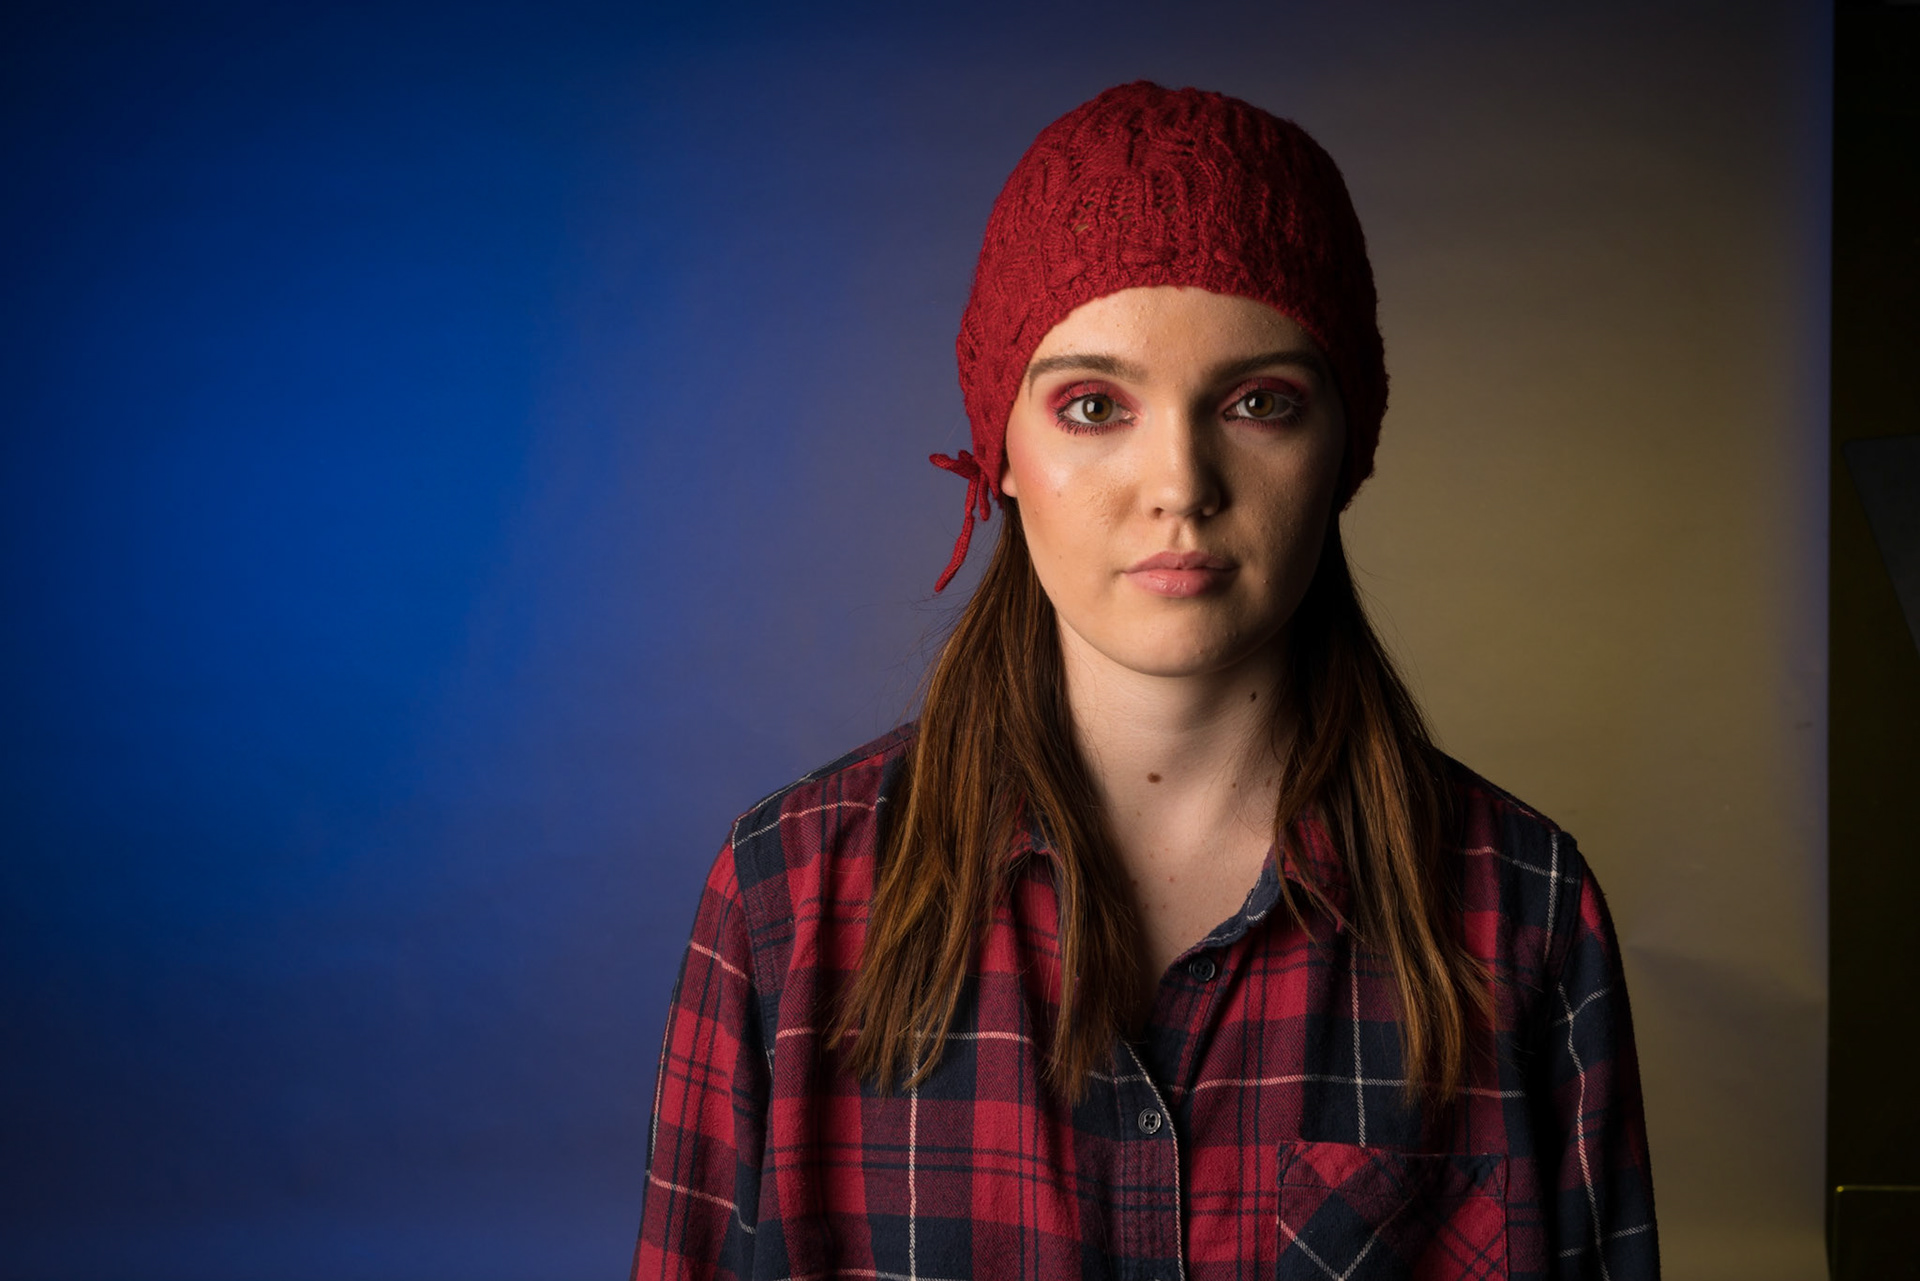
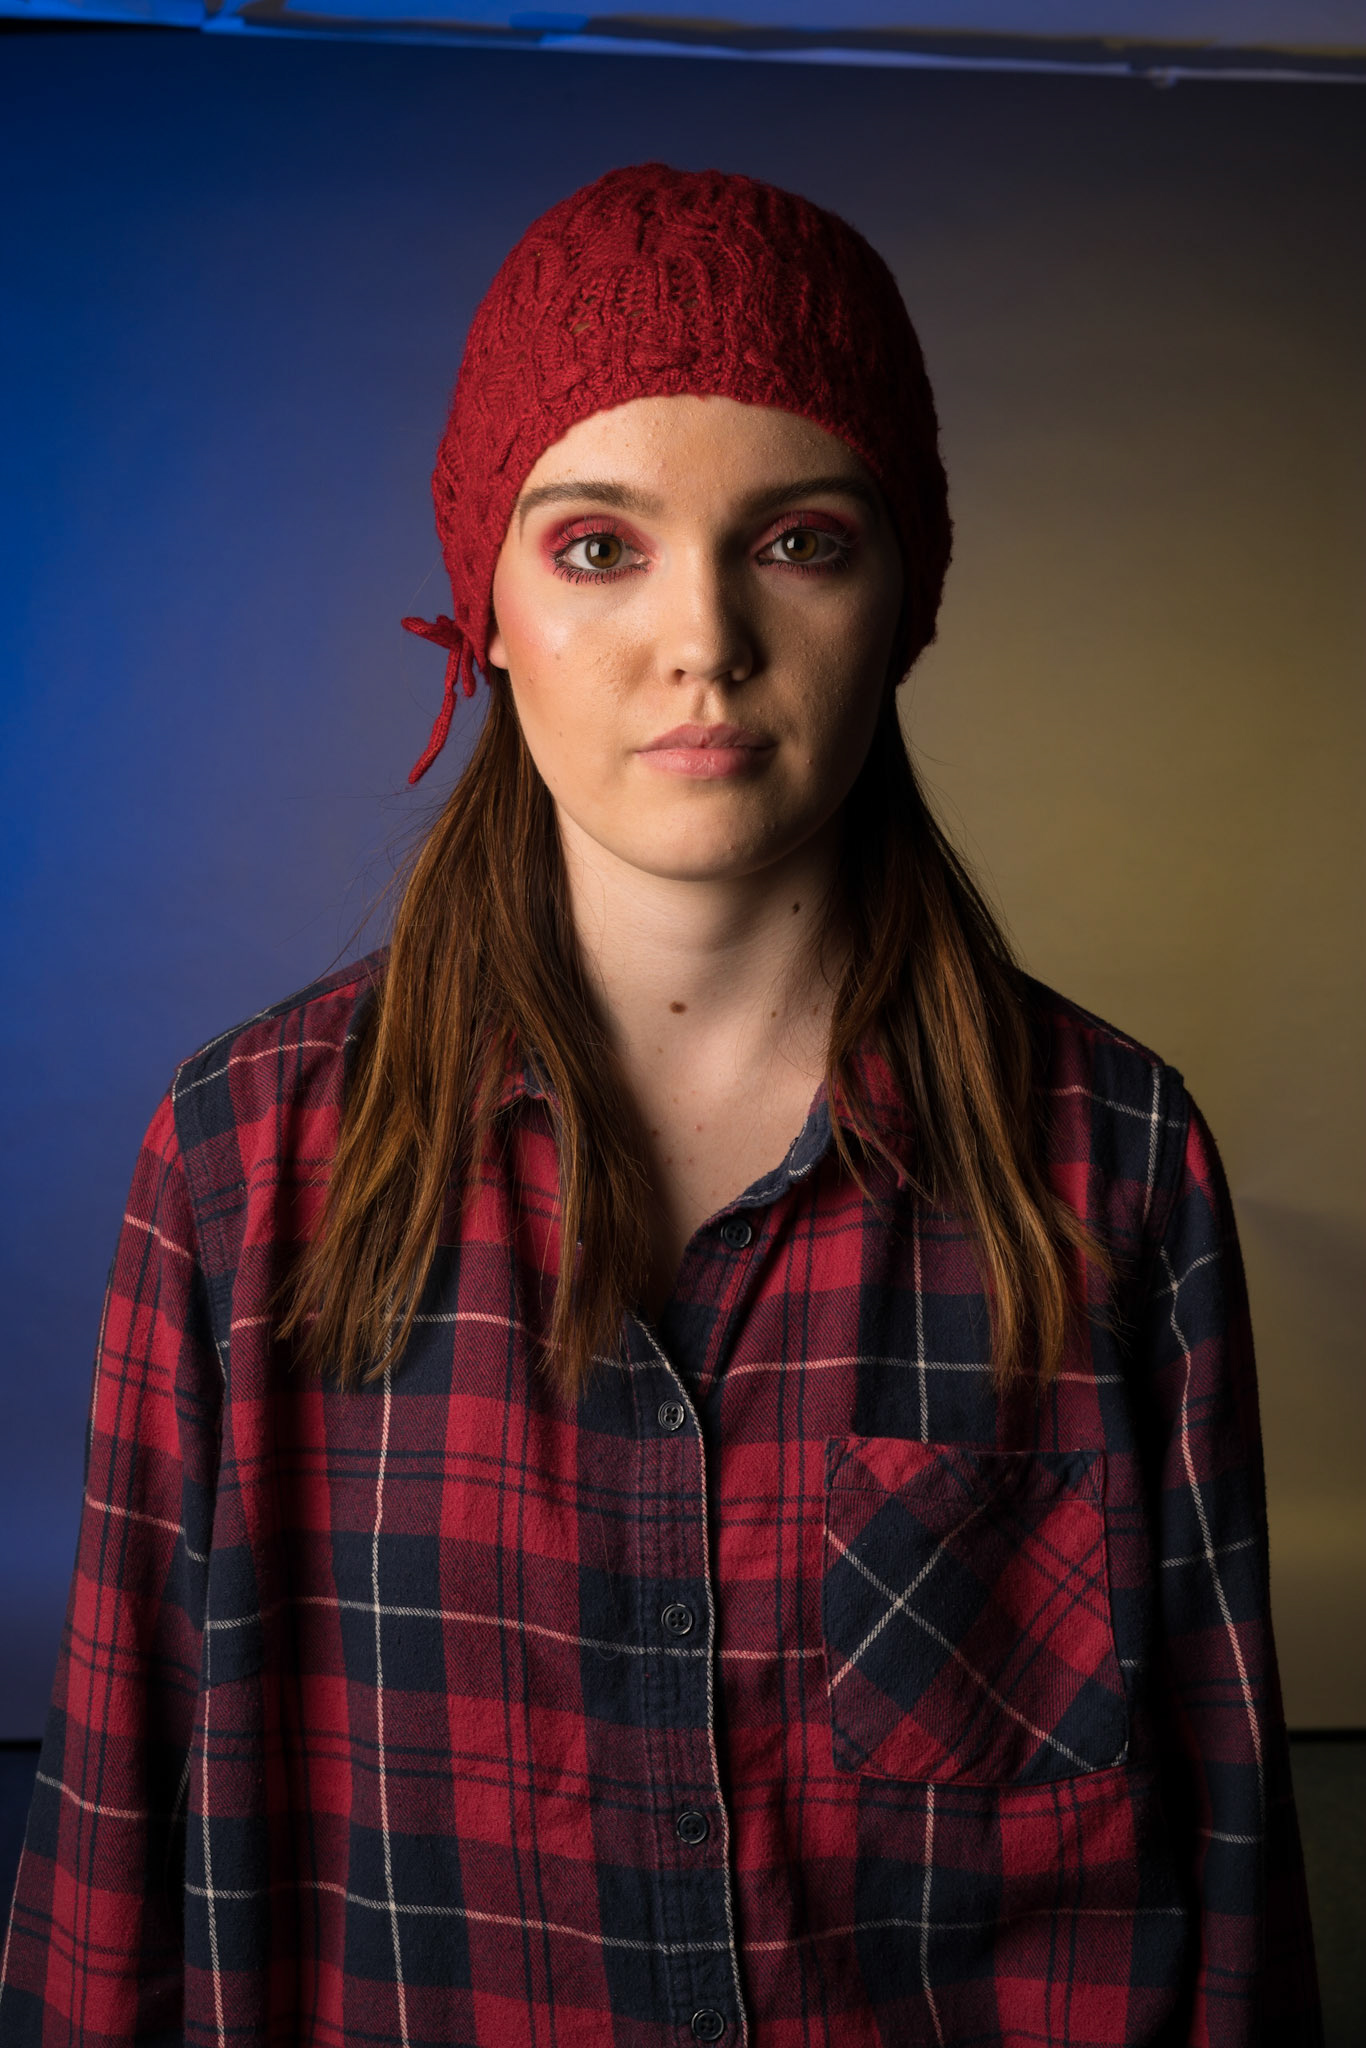
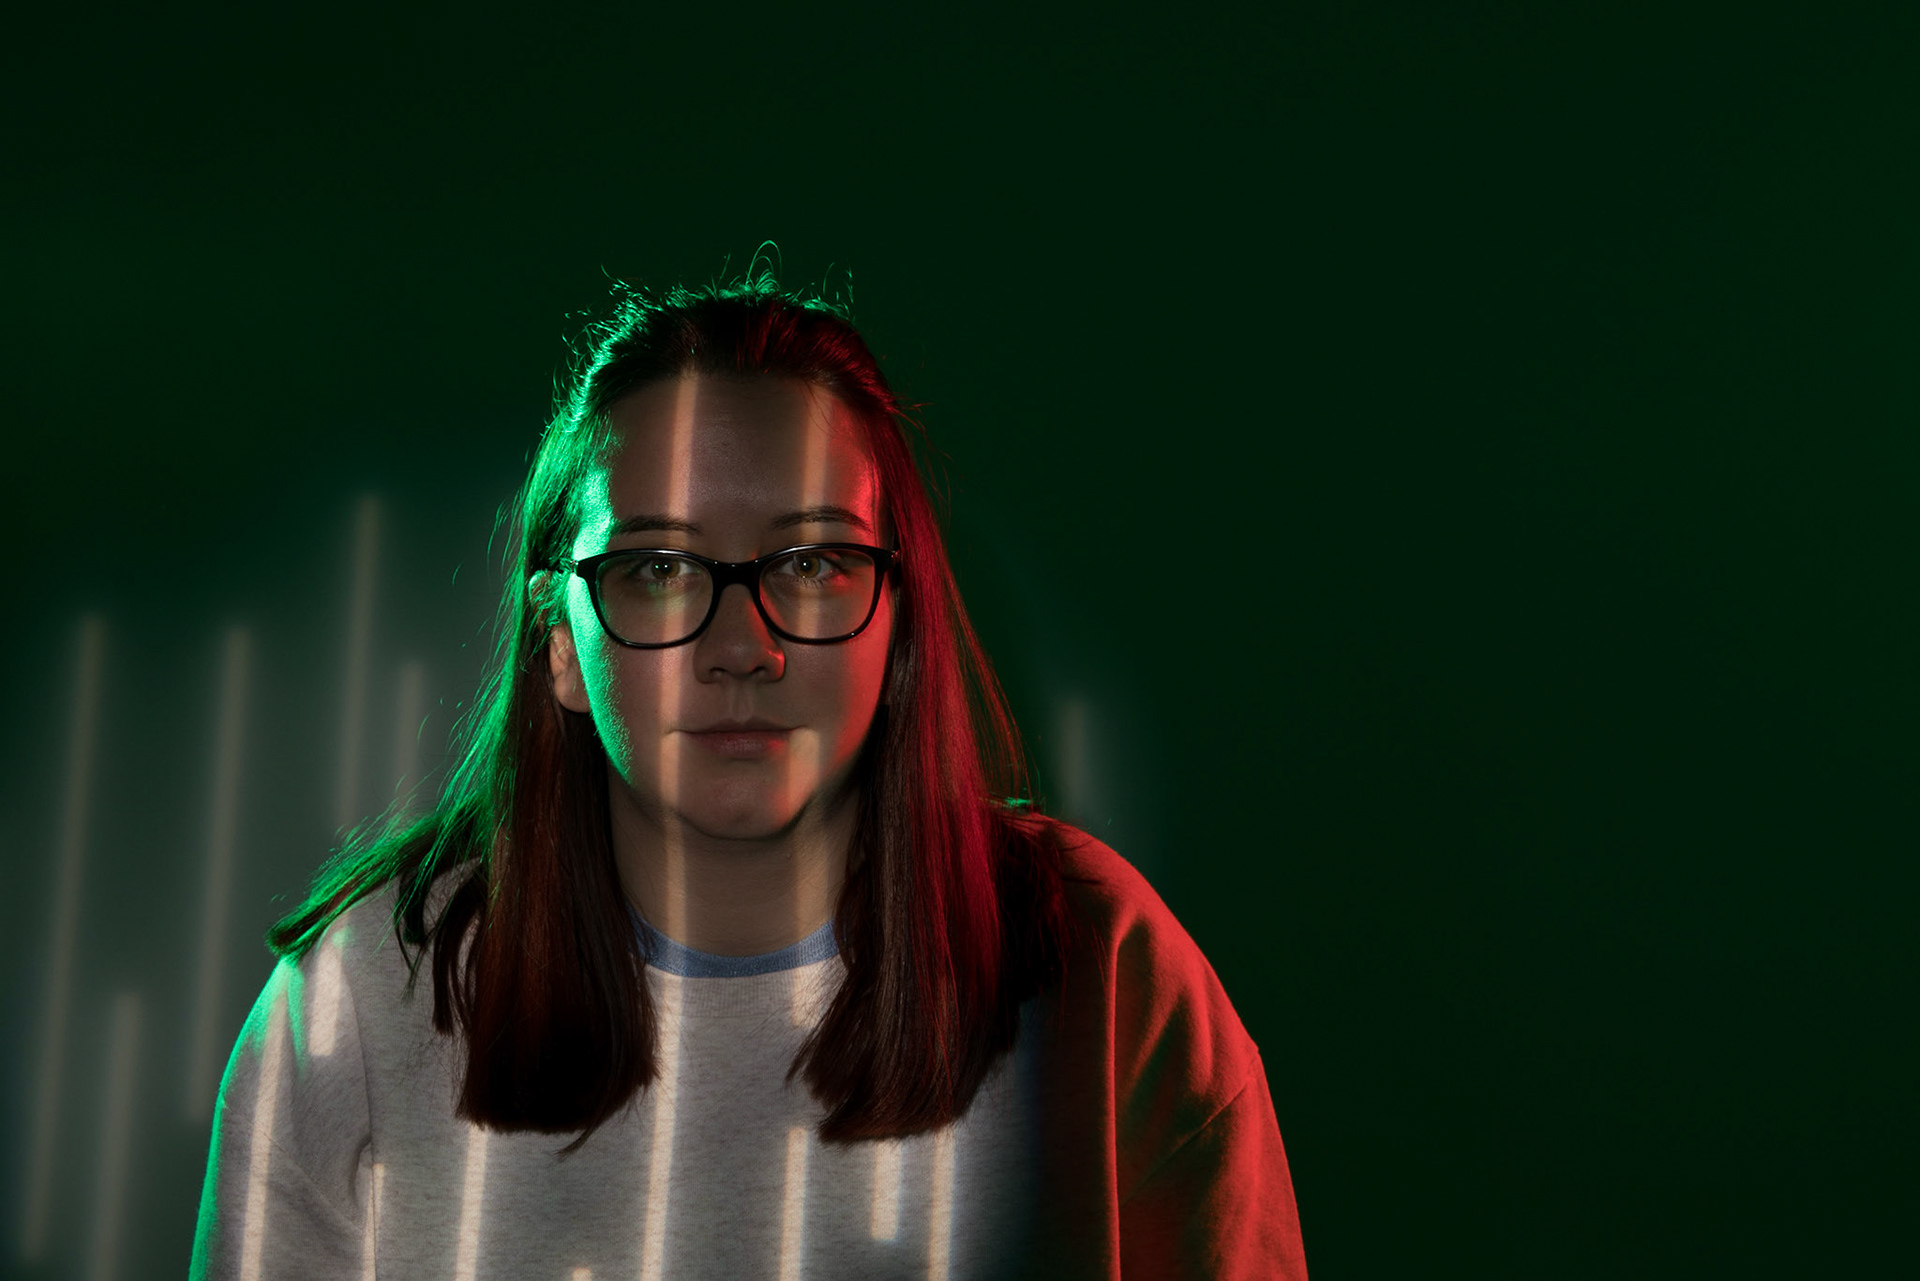
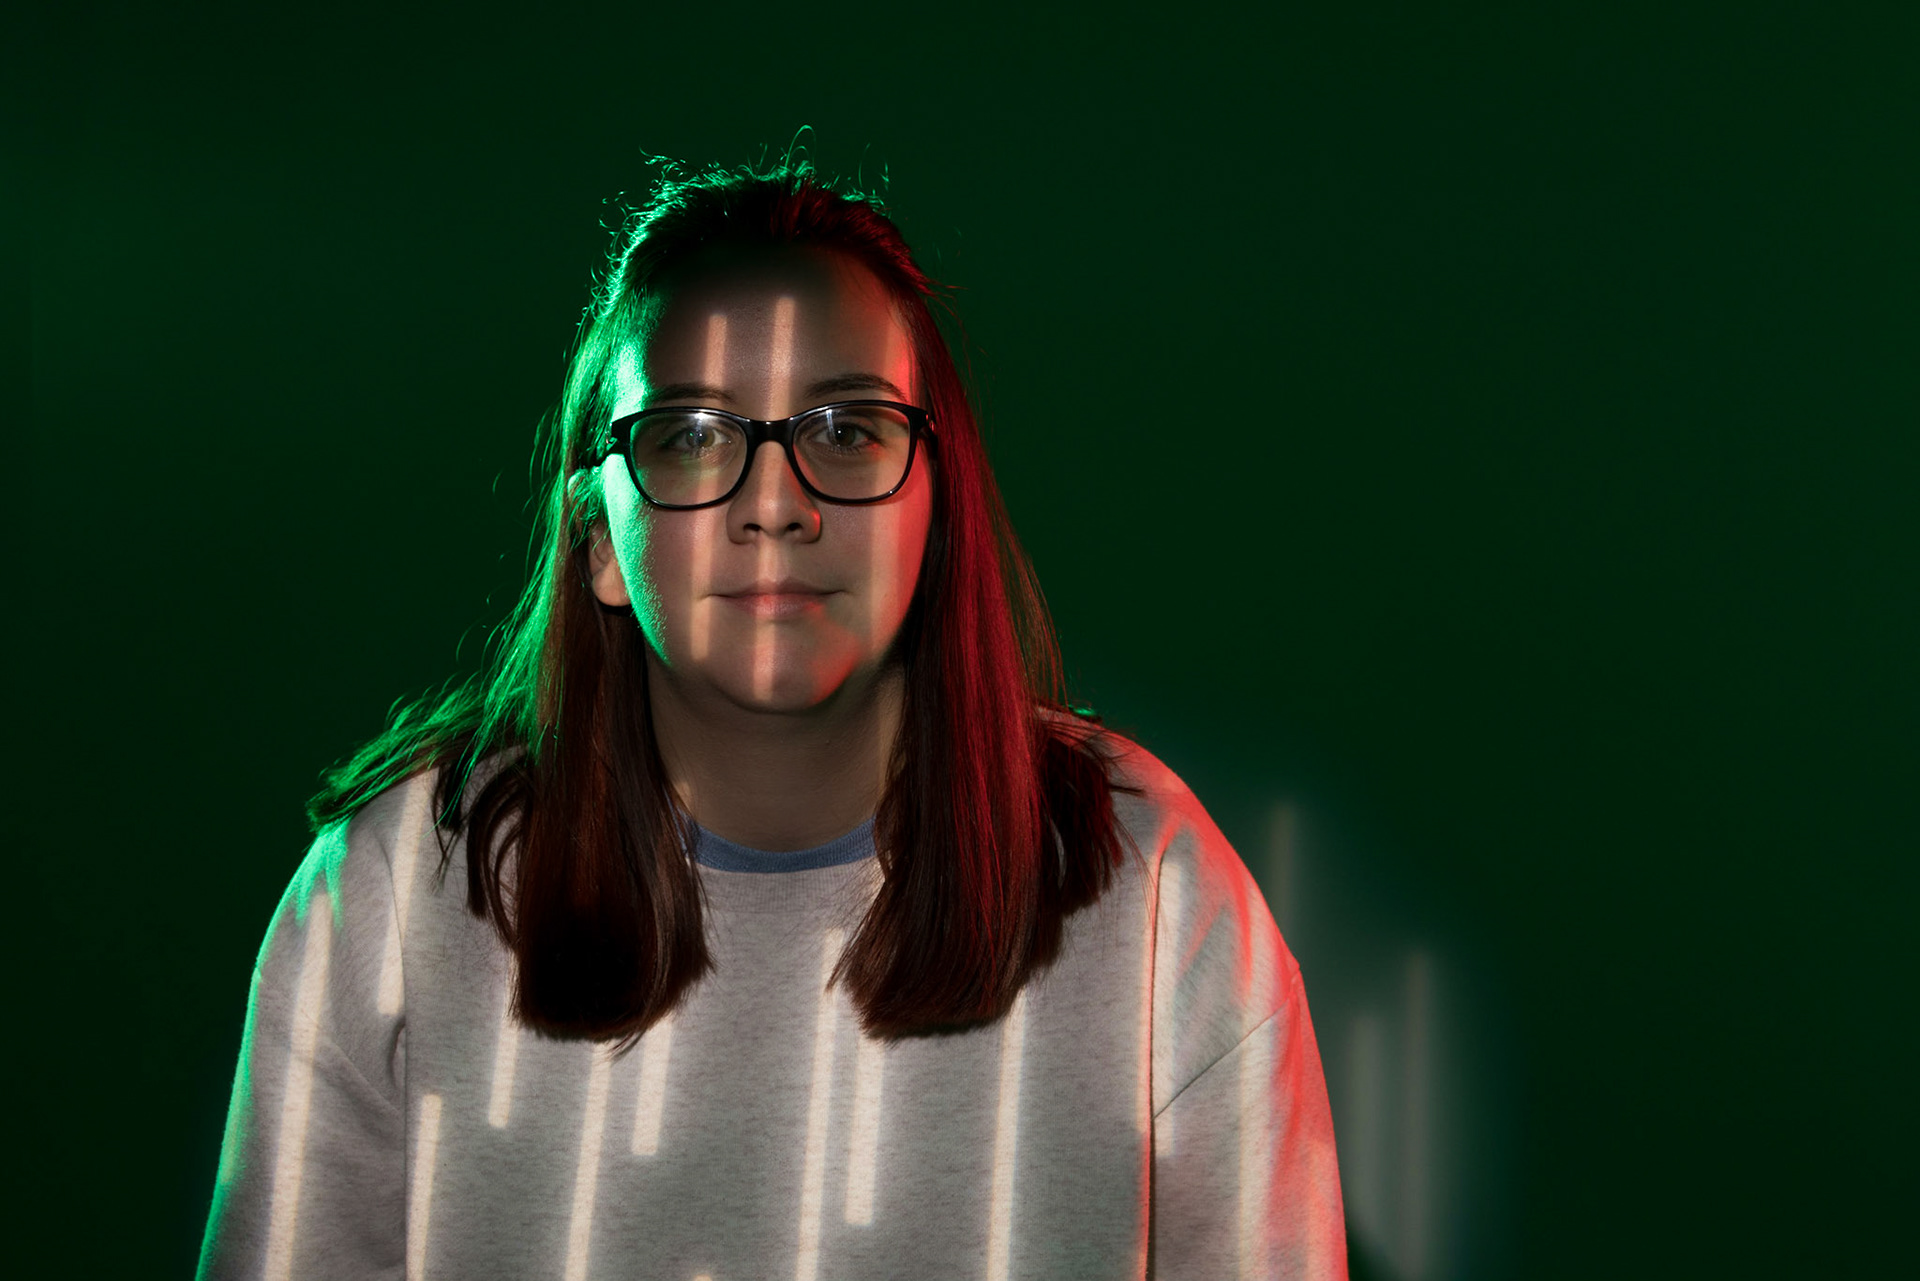
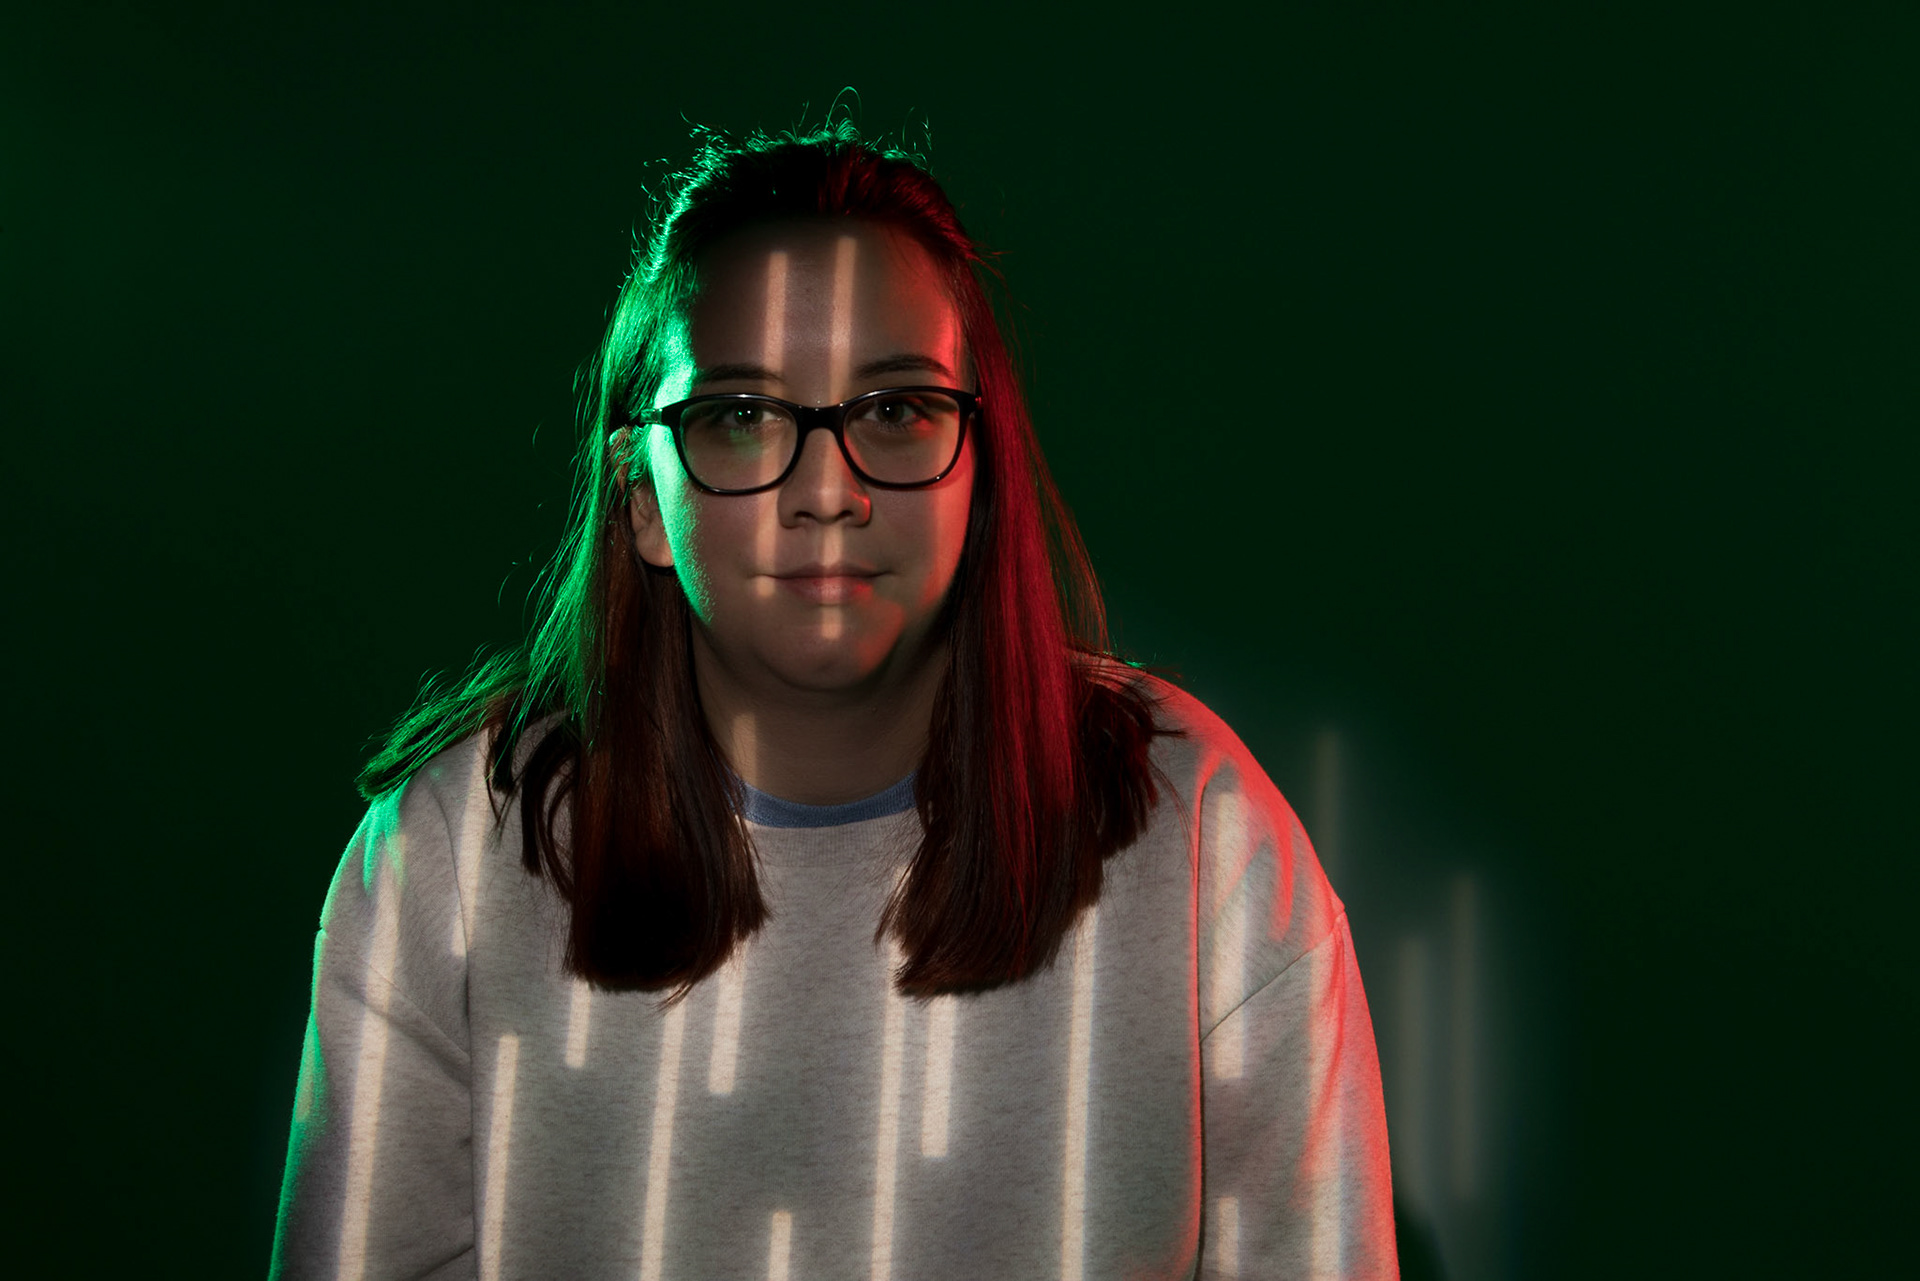
Some examples from the studio, showcasing the effects of triadic lighting. In this case I have used
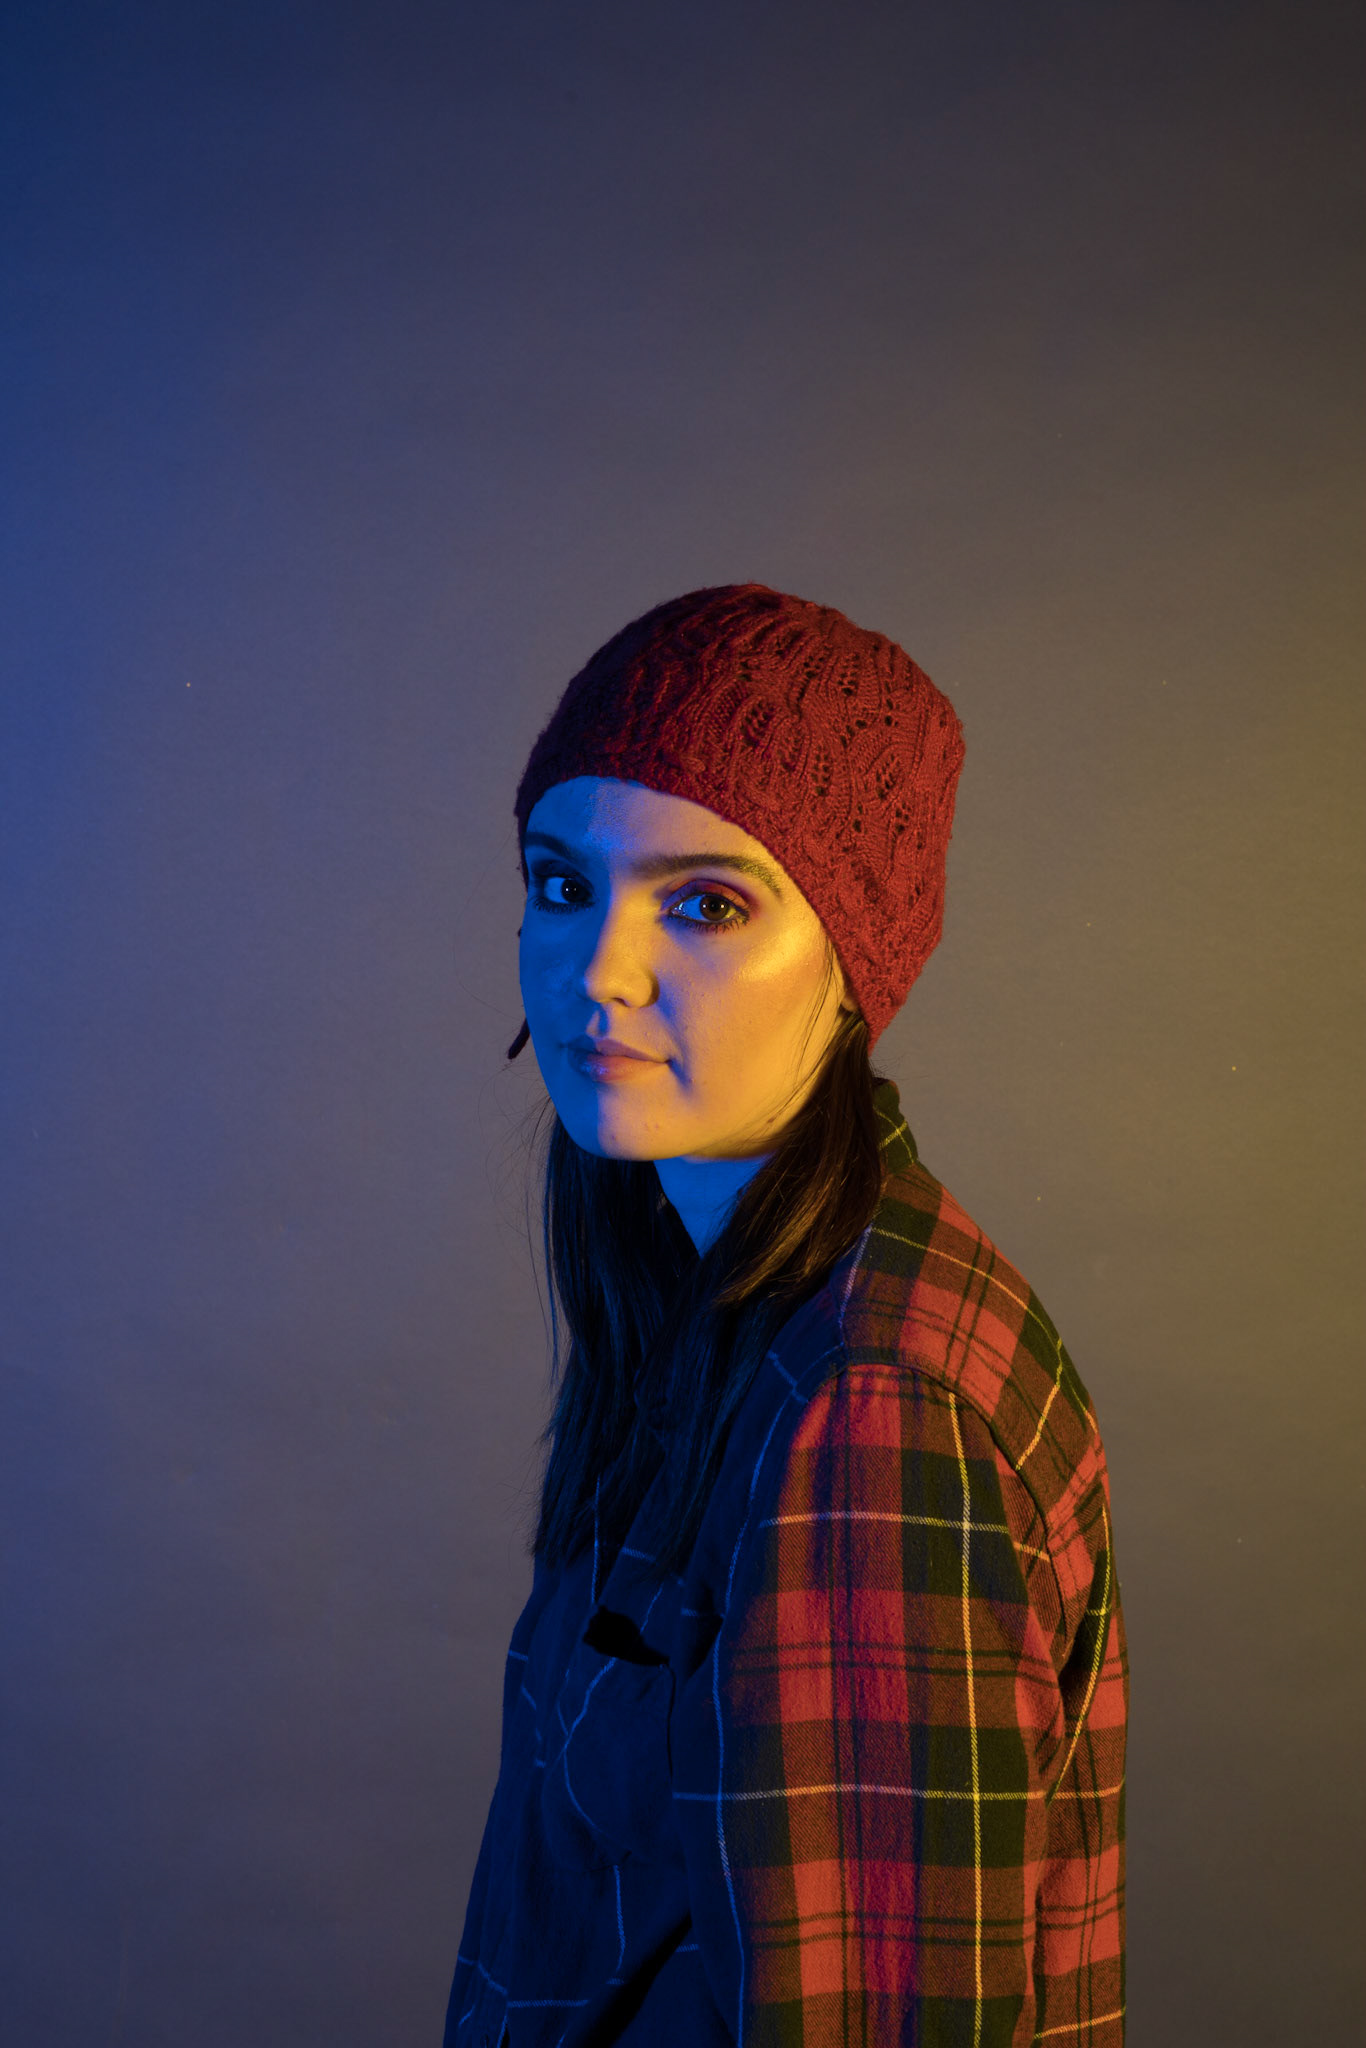
This is a lightly edited version of my favourite picture, that includes edits to the tone curve, contrast levels, highlights, shadows and removal of blemishes and a low level skin softening.

Jake Hicks & David Bailey
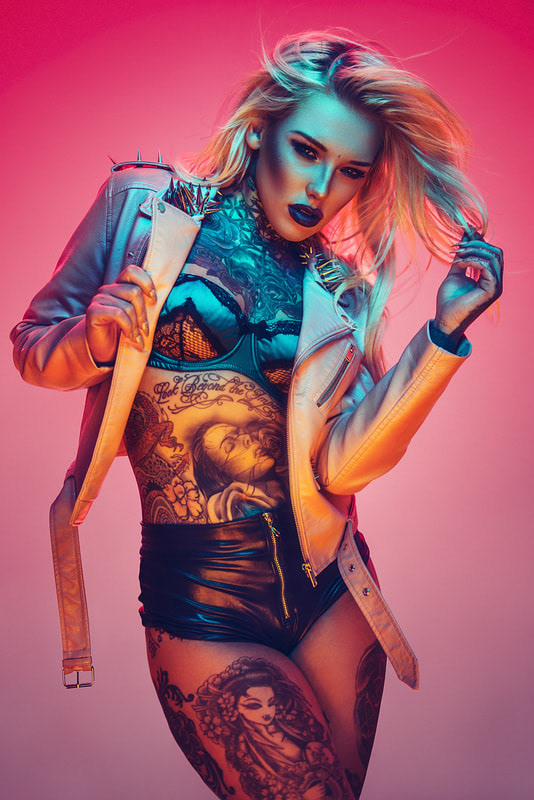
Jake is a photographer who uses coloured gels prolifically in his photoshoots. He has built a very strong career that has become based around his knowledge of lighting and the vibrant, technically proficient images he can produce. This has led to a very busy schedule, with brands always wanting to use his unique style as a way of making them stand out via their campaigns. He is almost entirely based in the controlled environment of a studio, shooting mainly fashion and editorials.


Considered one of the pioneers of contemporary photography, David Bailey is credited with photographing some of the most compelling images of the last five decades. He first rose to fame making stars of a new generation of models including Jean Shrimpton and Penelope Tree. Since then he has capturing iconic images of legends such as: The Rolling Stones, the Kray twins, Damien Hirst and Kate Moss. His pioneering, simple yet powerful, black and white images have become a genre in their own right.
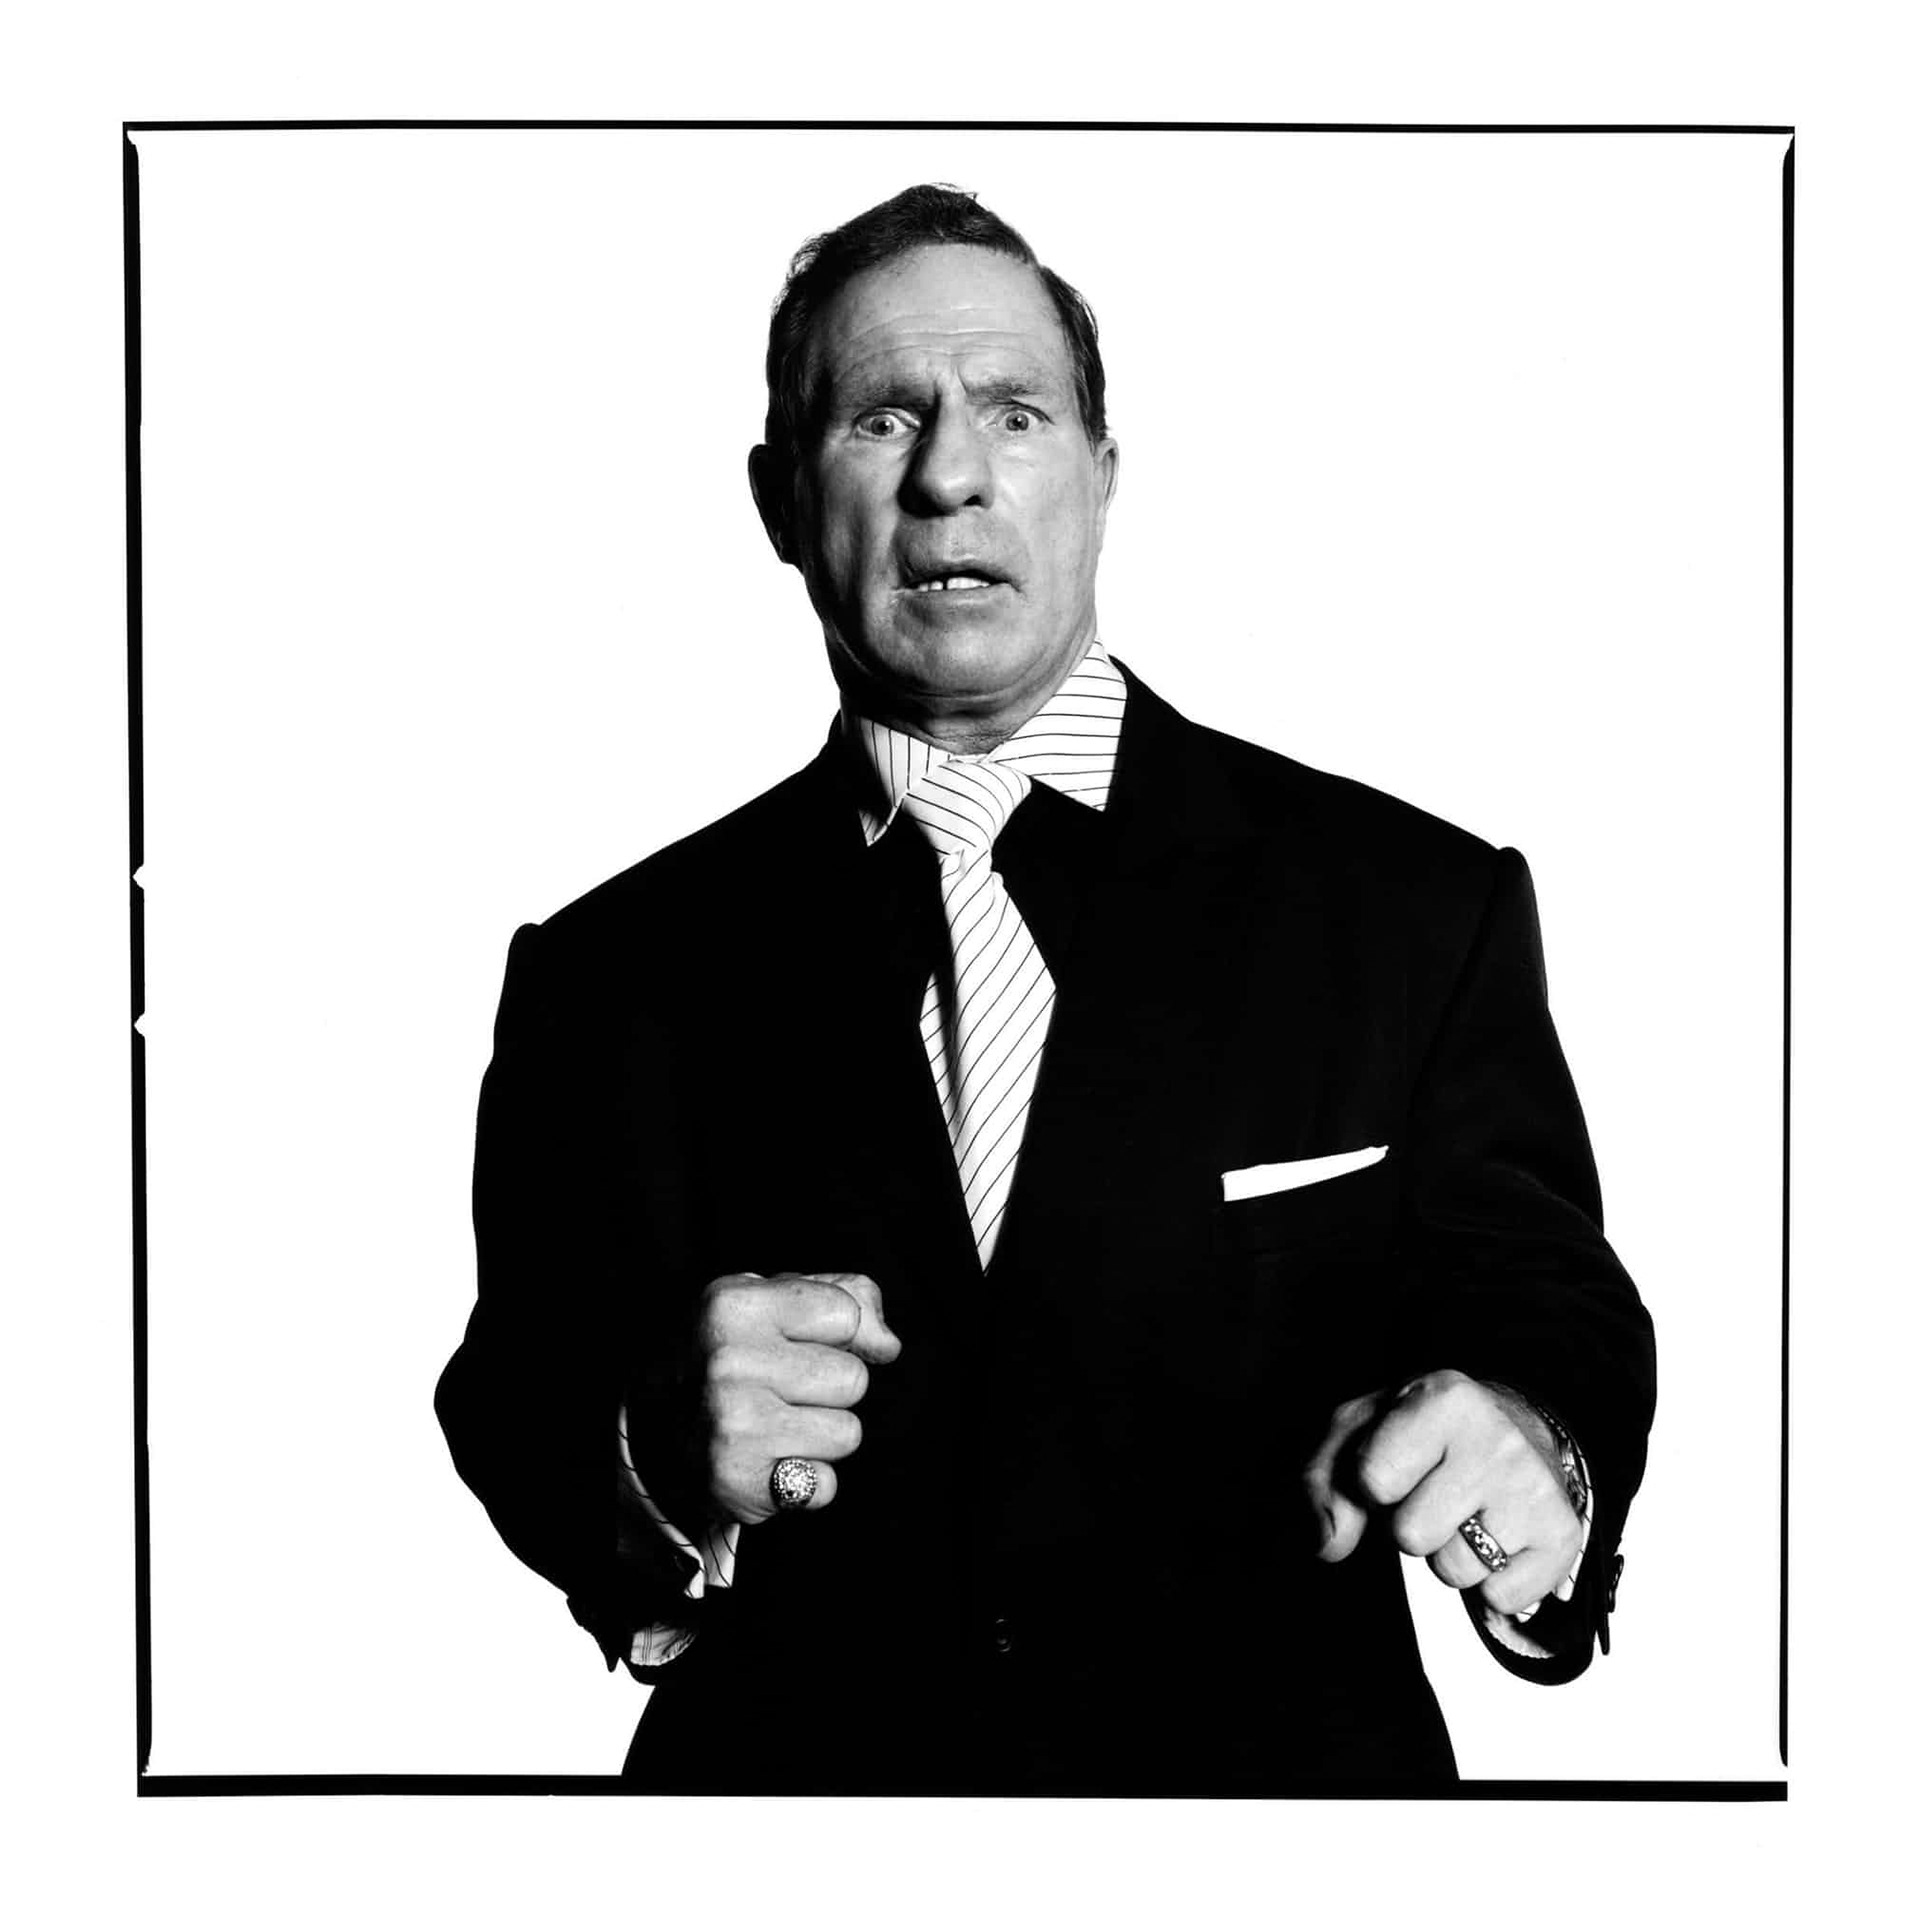
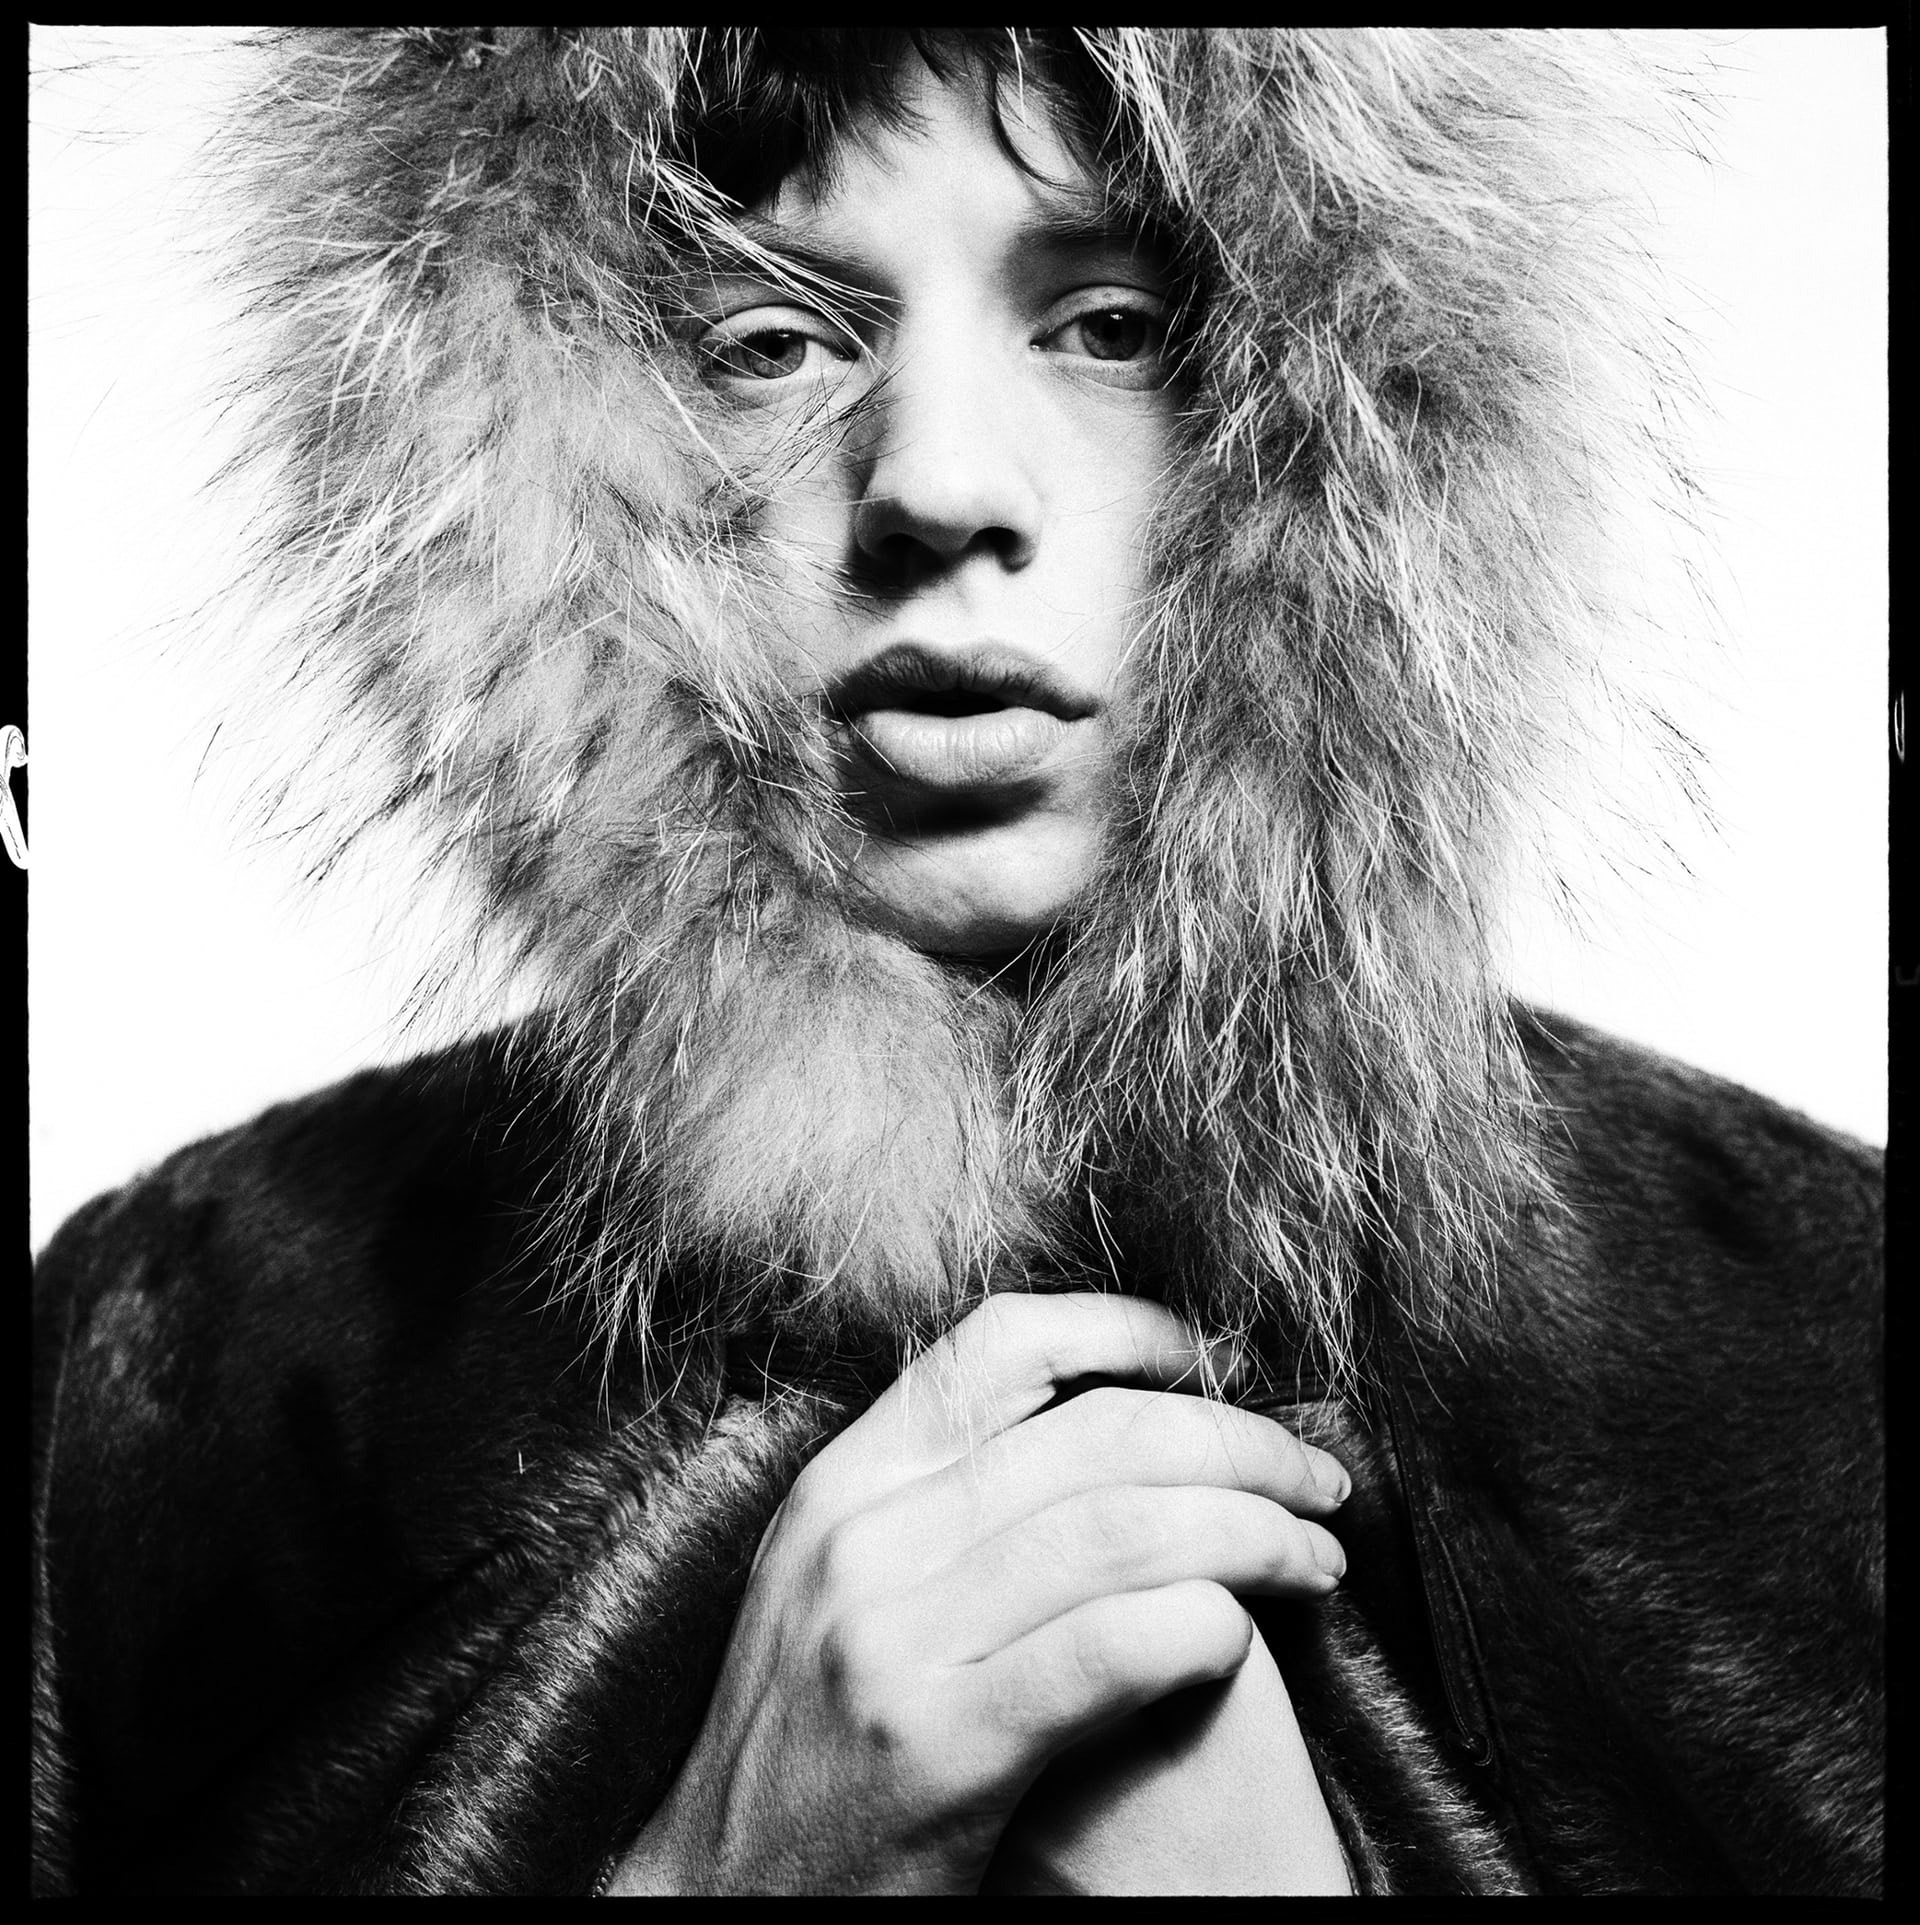
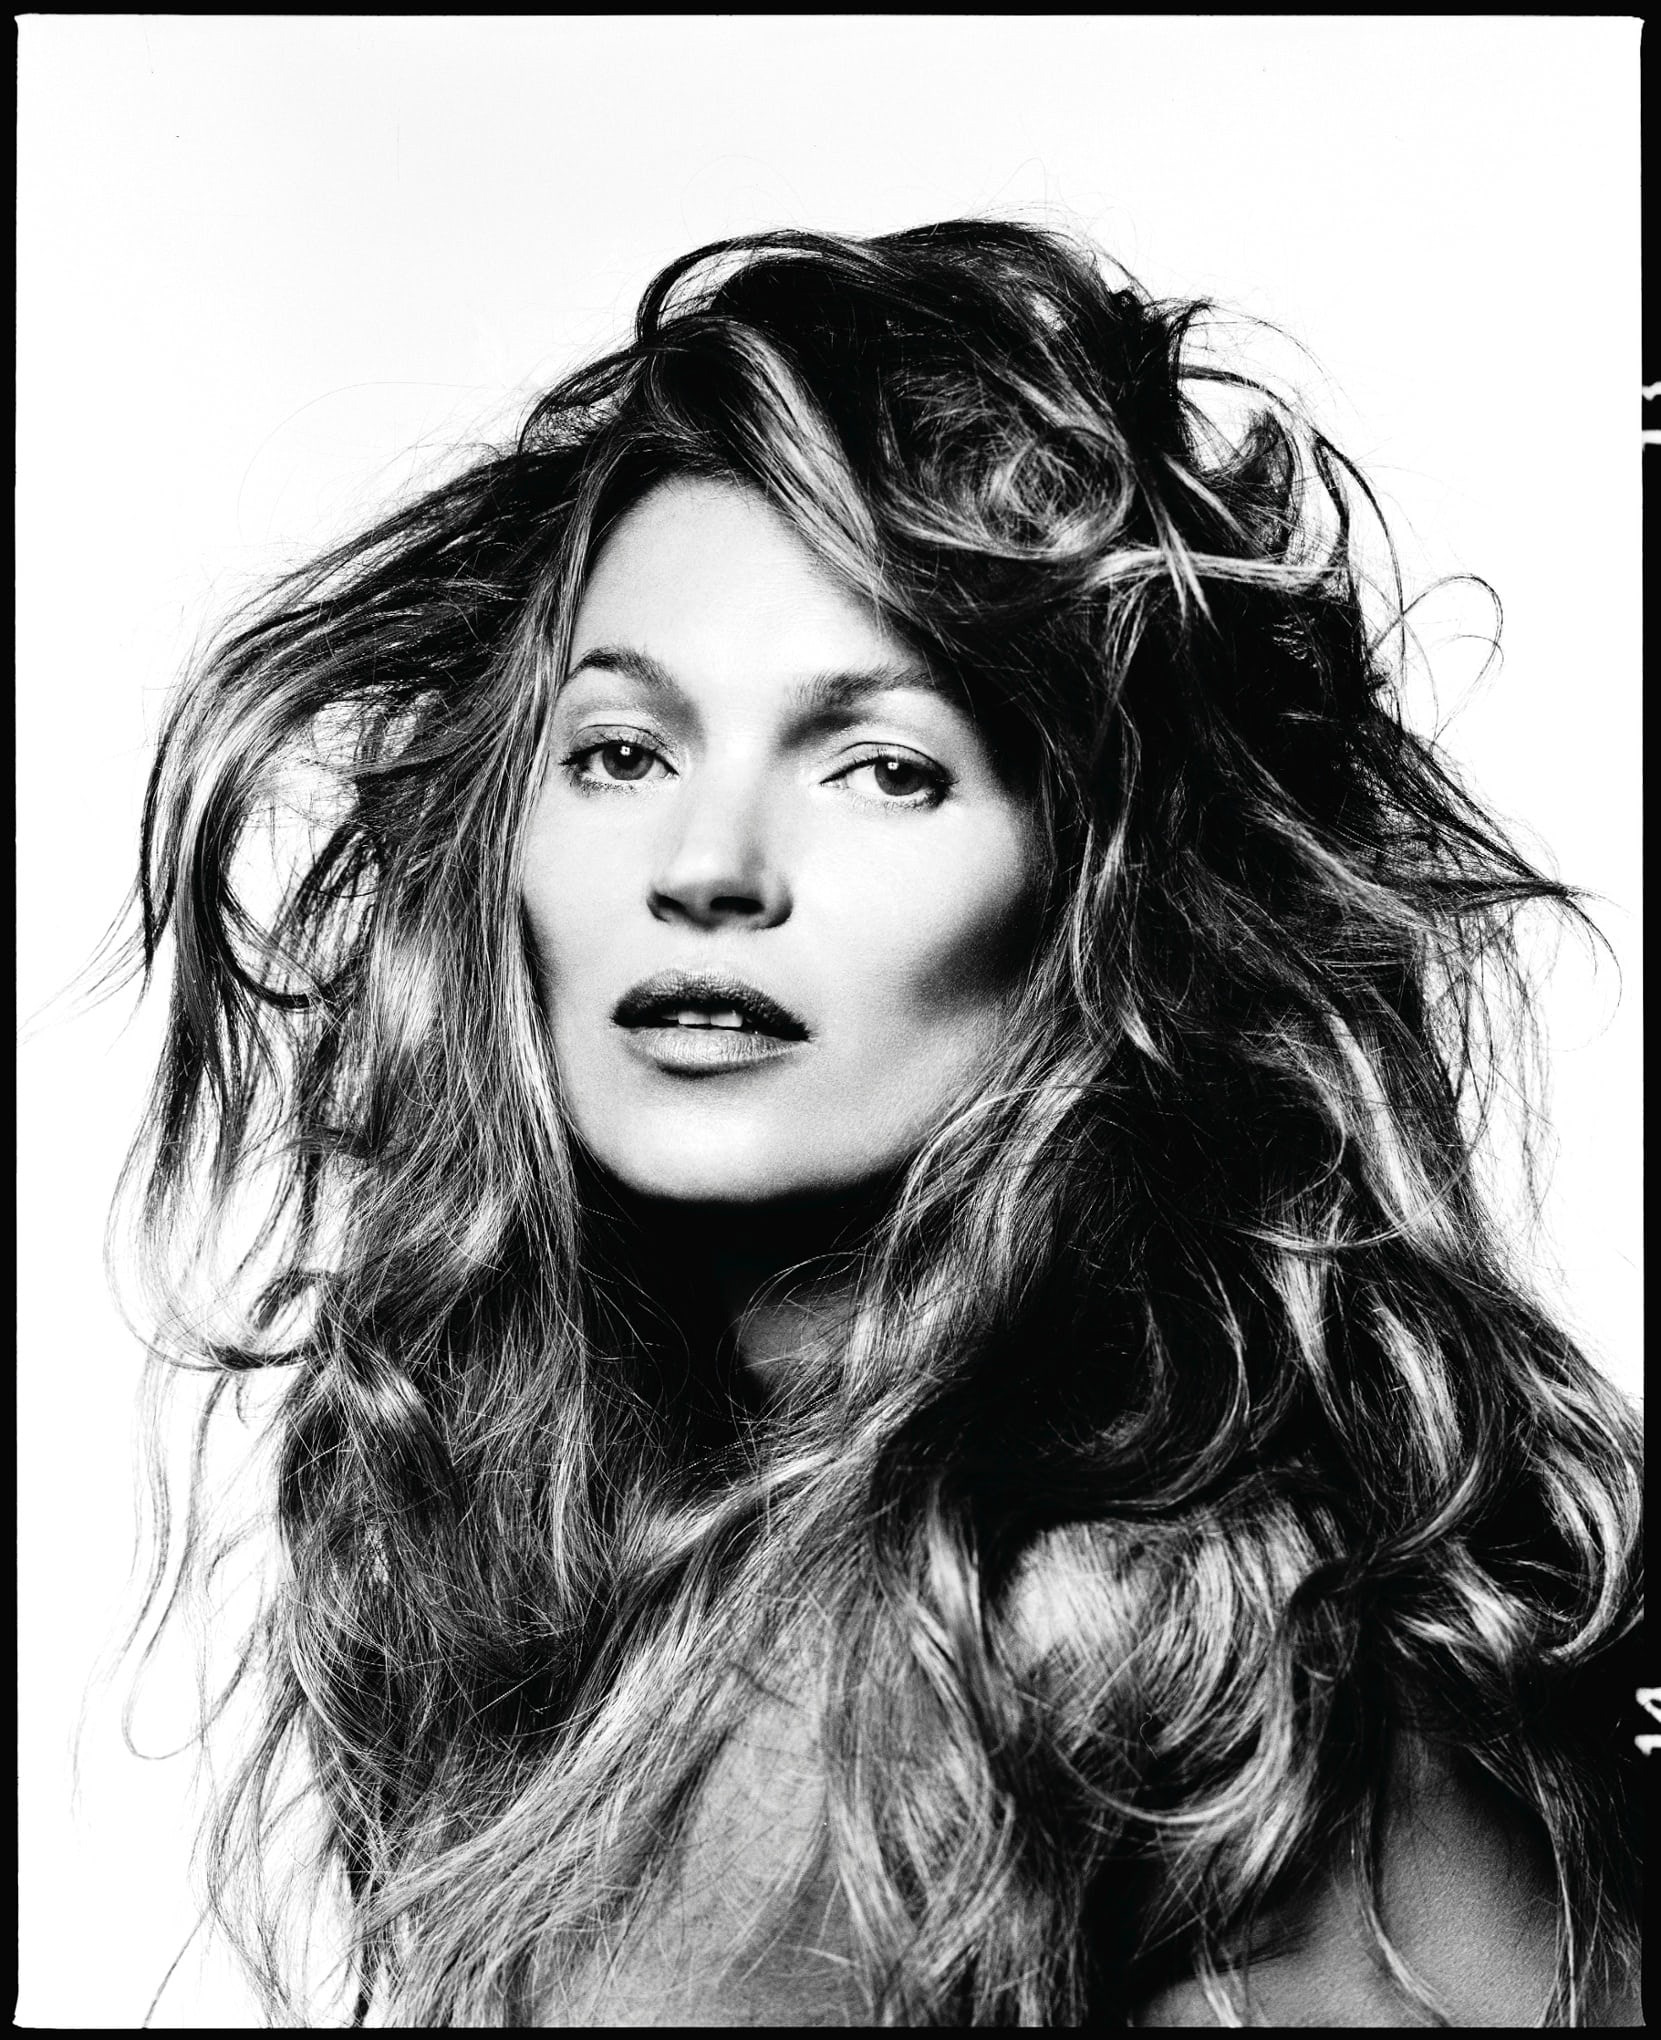
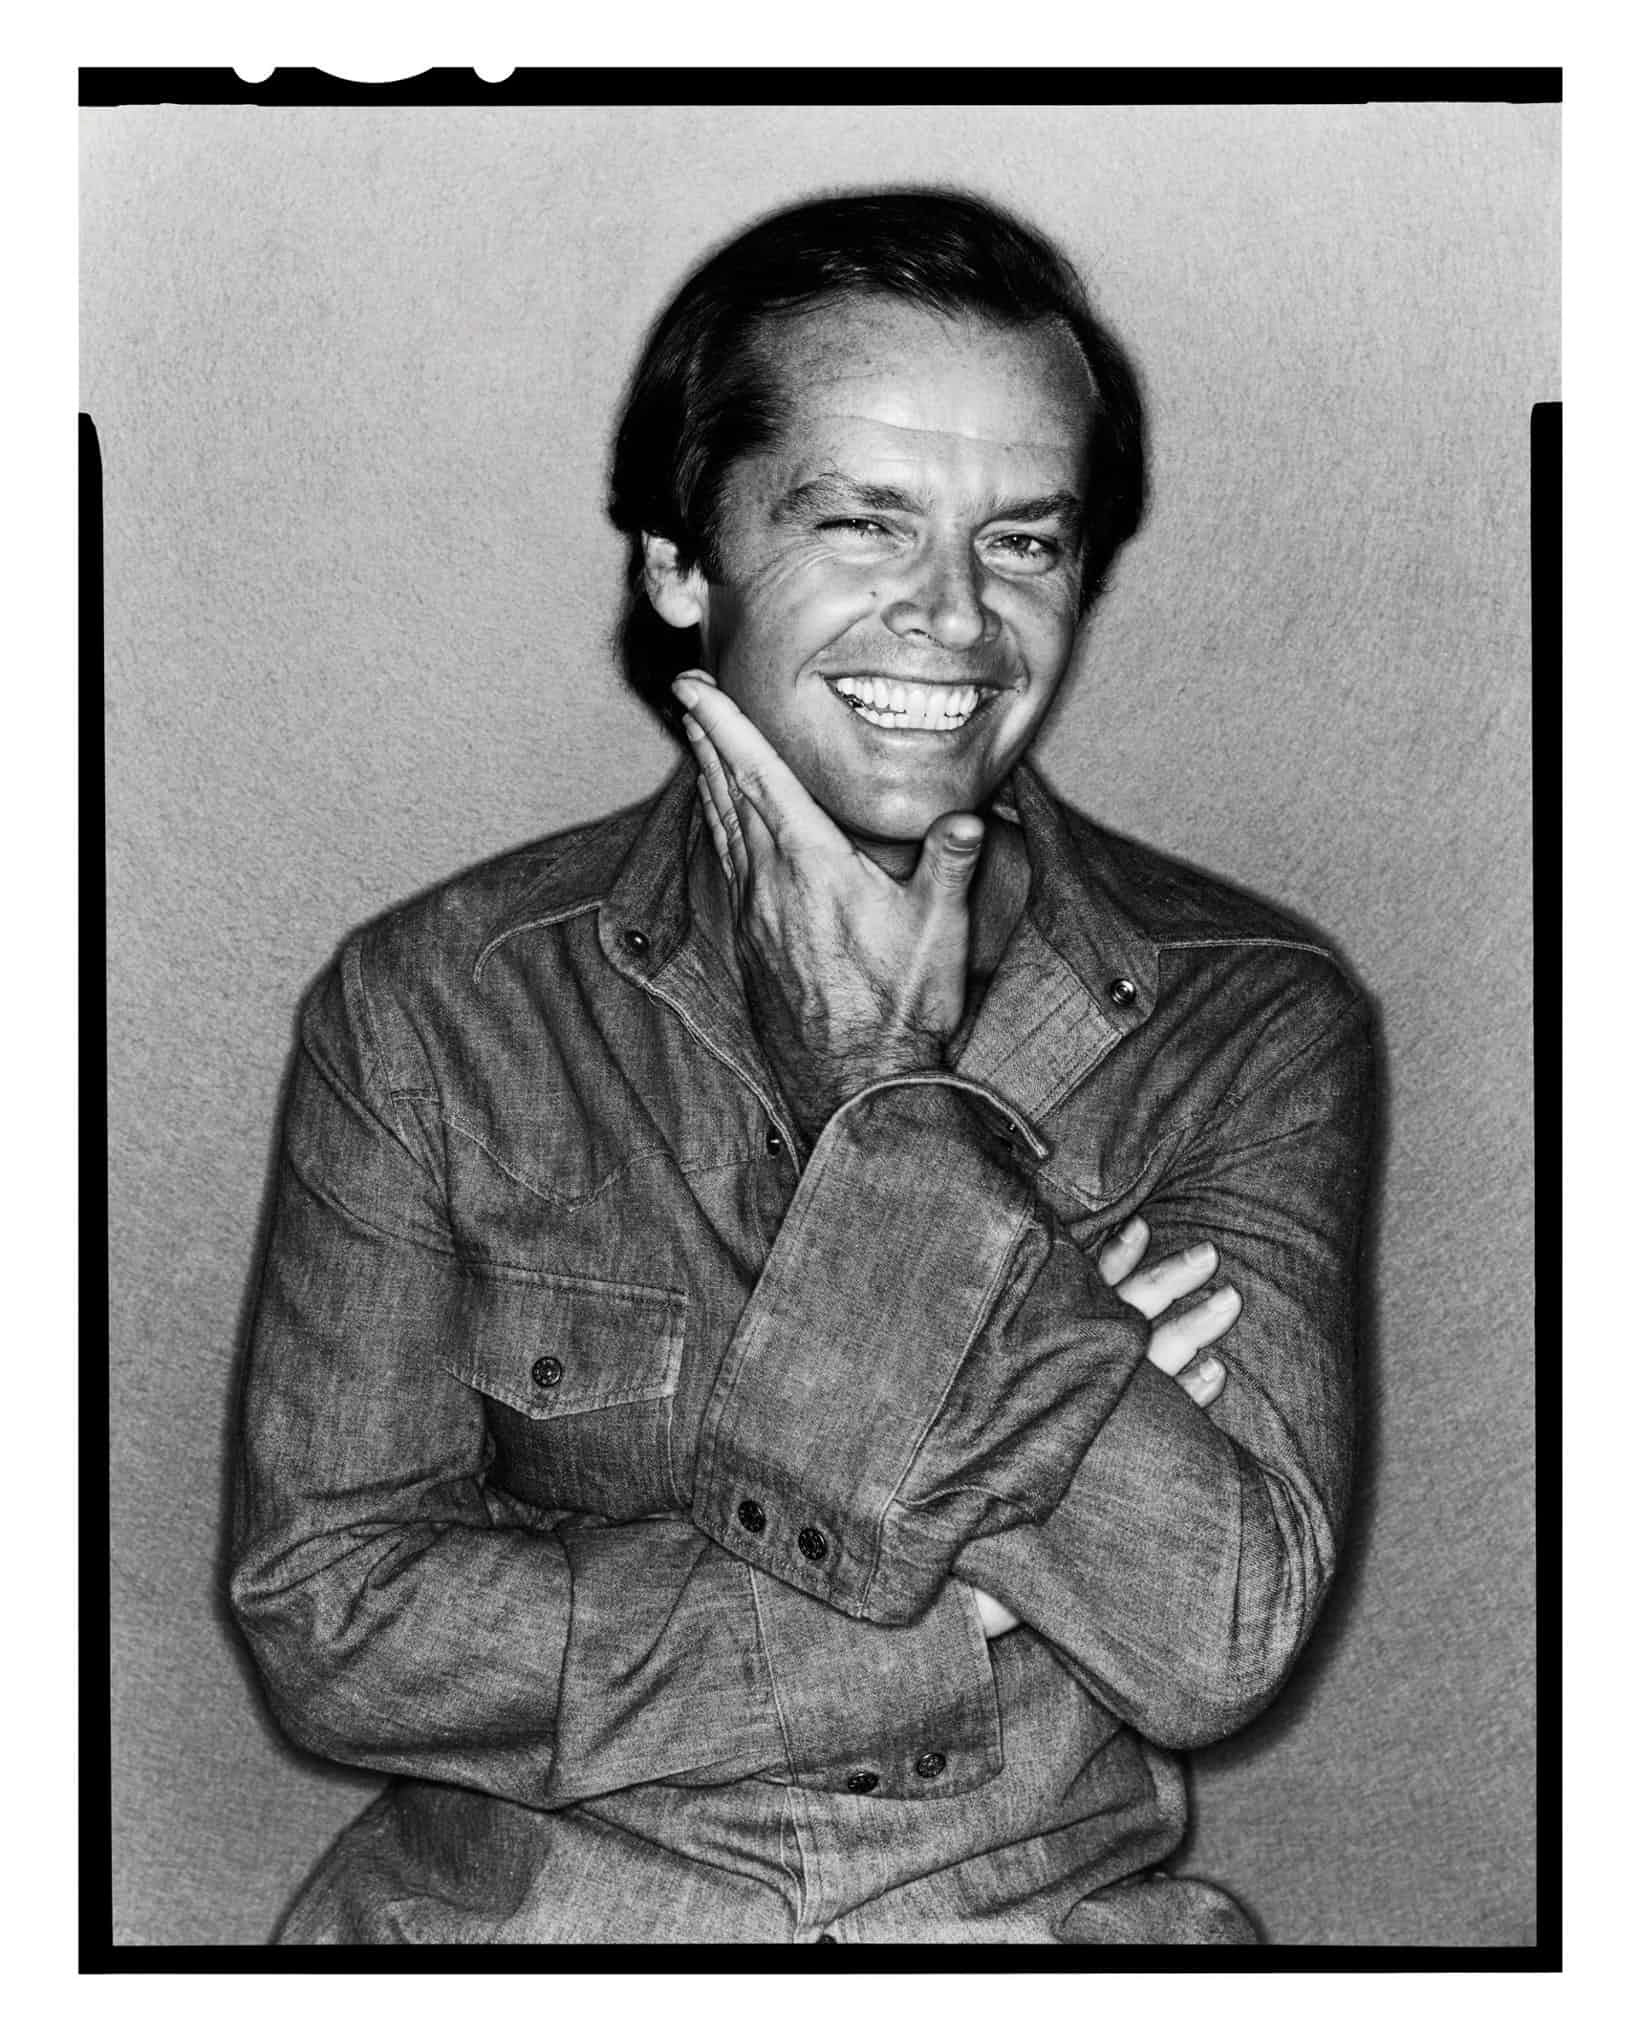
Bailey and Hicks are both well known for their portrait work, B&W and vibrant high fashion, respectively. Both photographers images have a similar final destination with most of their work being used in editorial publications or in advertisements. Making a success out of this has been down to the unique styles they have both developed - leading them to be top choices when a client wants their own project to stand out. Arguably, Bailey is the vastly more successful artist, having established a long career, whereas Hicks is only at the start of his career, but has already achieved acclaim for his work.
By looking at these two photographers, I hope to establish my own unique style, by using different lighting techniques, for the portrait section of my final image. However, I am aware that this can take years to develop so I do expect to take inspiration from artists, such as Hicks and Bailey. I feel like my style is starting to lean towards on in which straight lines and parallels are instrumental to the composition. In my own work, this will help establish a clear division between the two images in the double exposure. Hopefully, in addition, I can use this technique to split the views interpretation of my image.
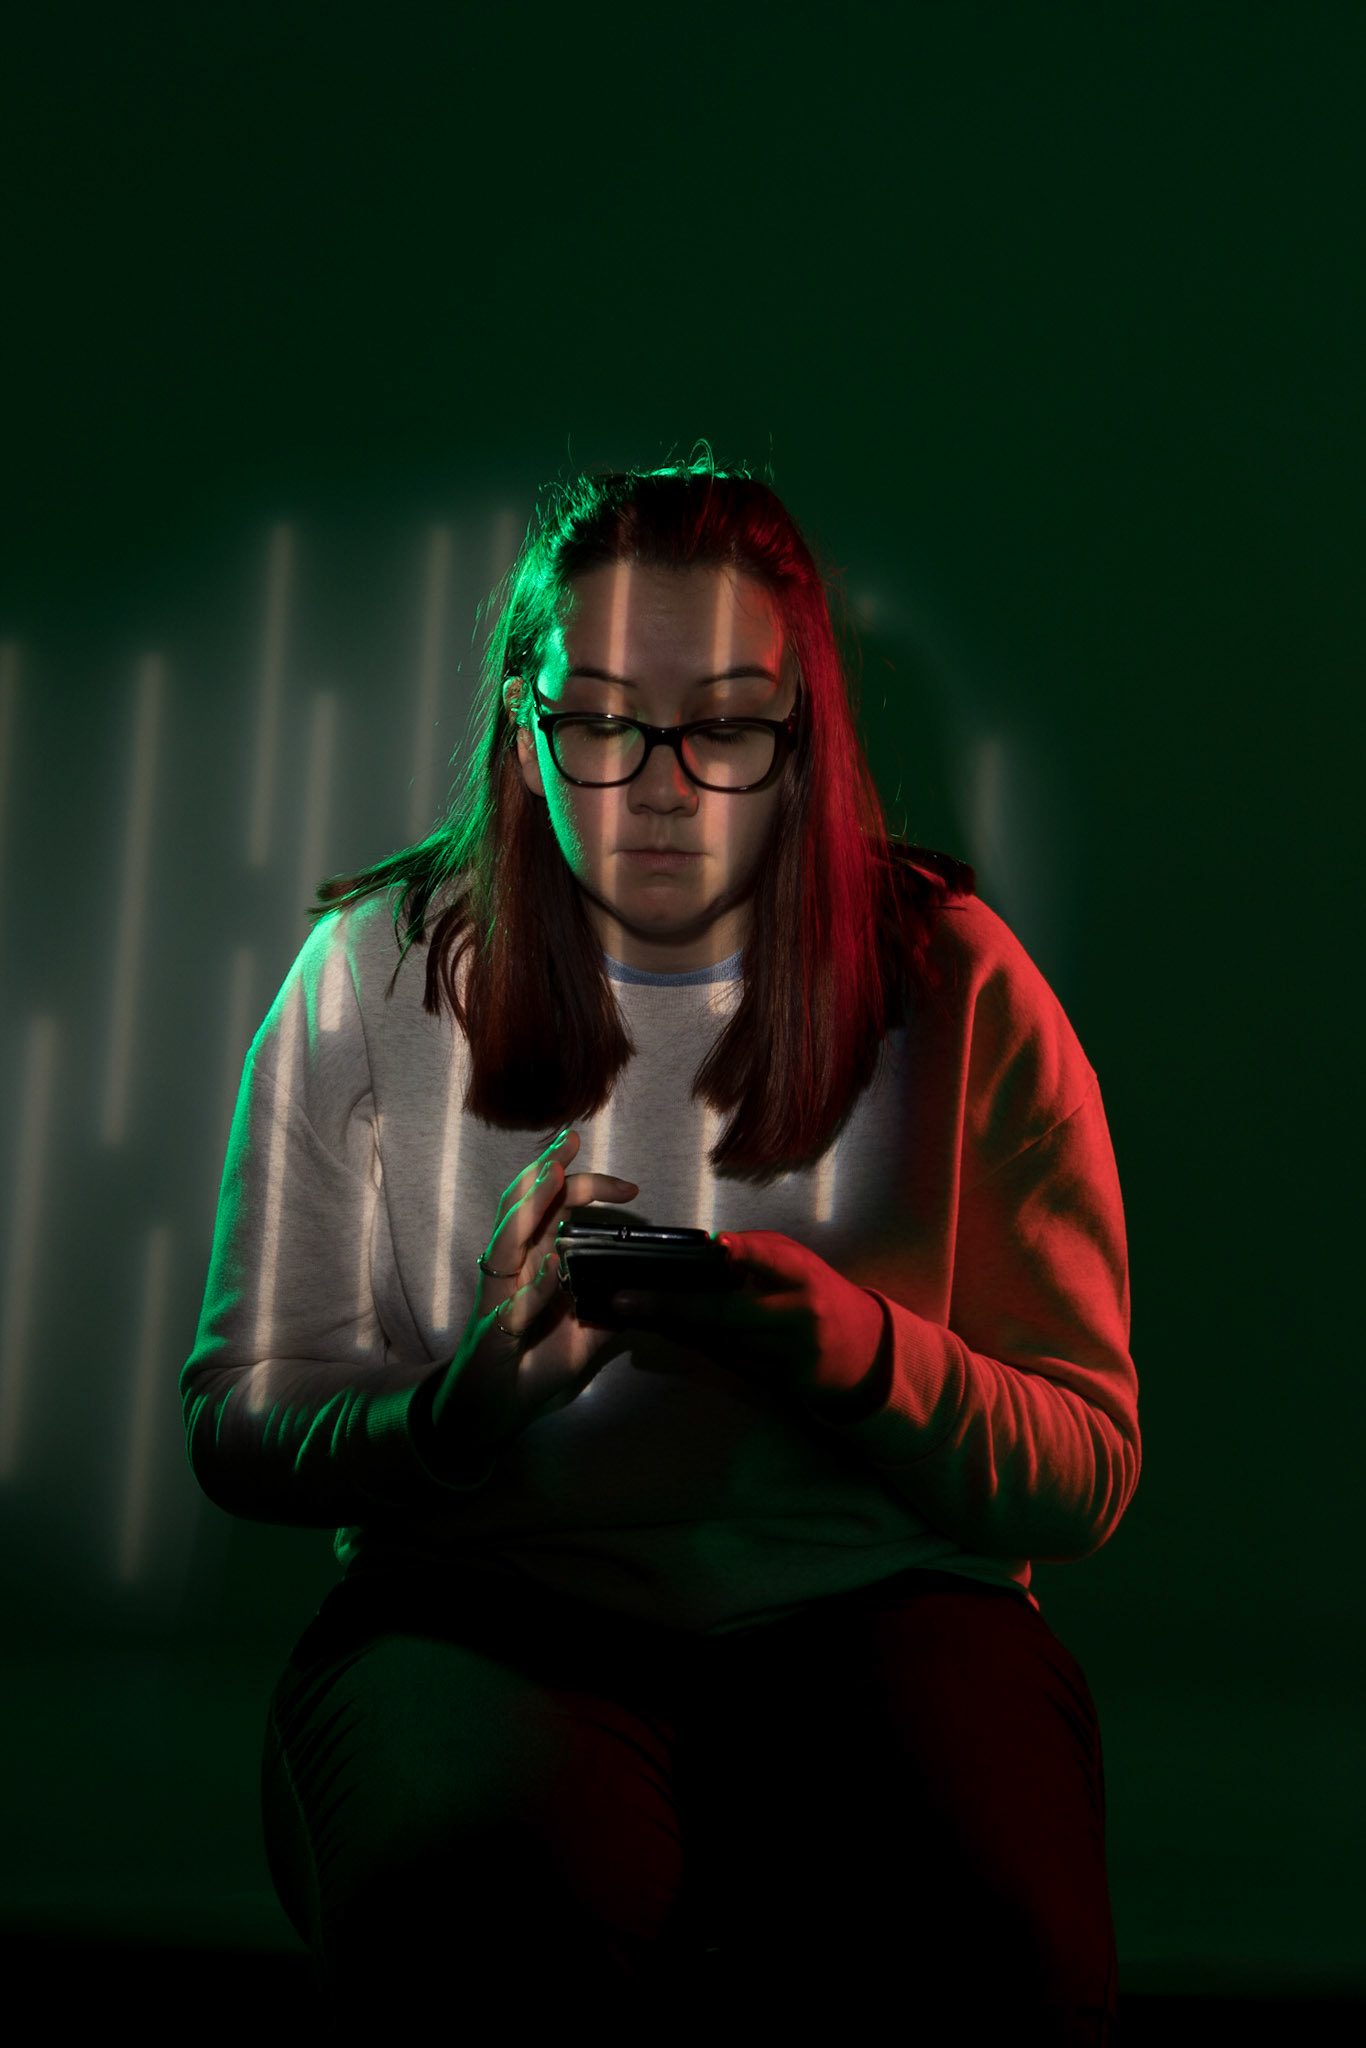
Gobos's
A gobo is a stencil or template placed inside or in front of a light source to control the shape of the emitted light. Lighting designers typically use them with stage lighting instruments to manipulate the shape of the light cast over a space or object - for example to produce a pattern of leaves on a stage floor. In my case I have produced a set of small strips of light on my model.
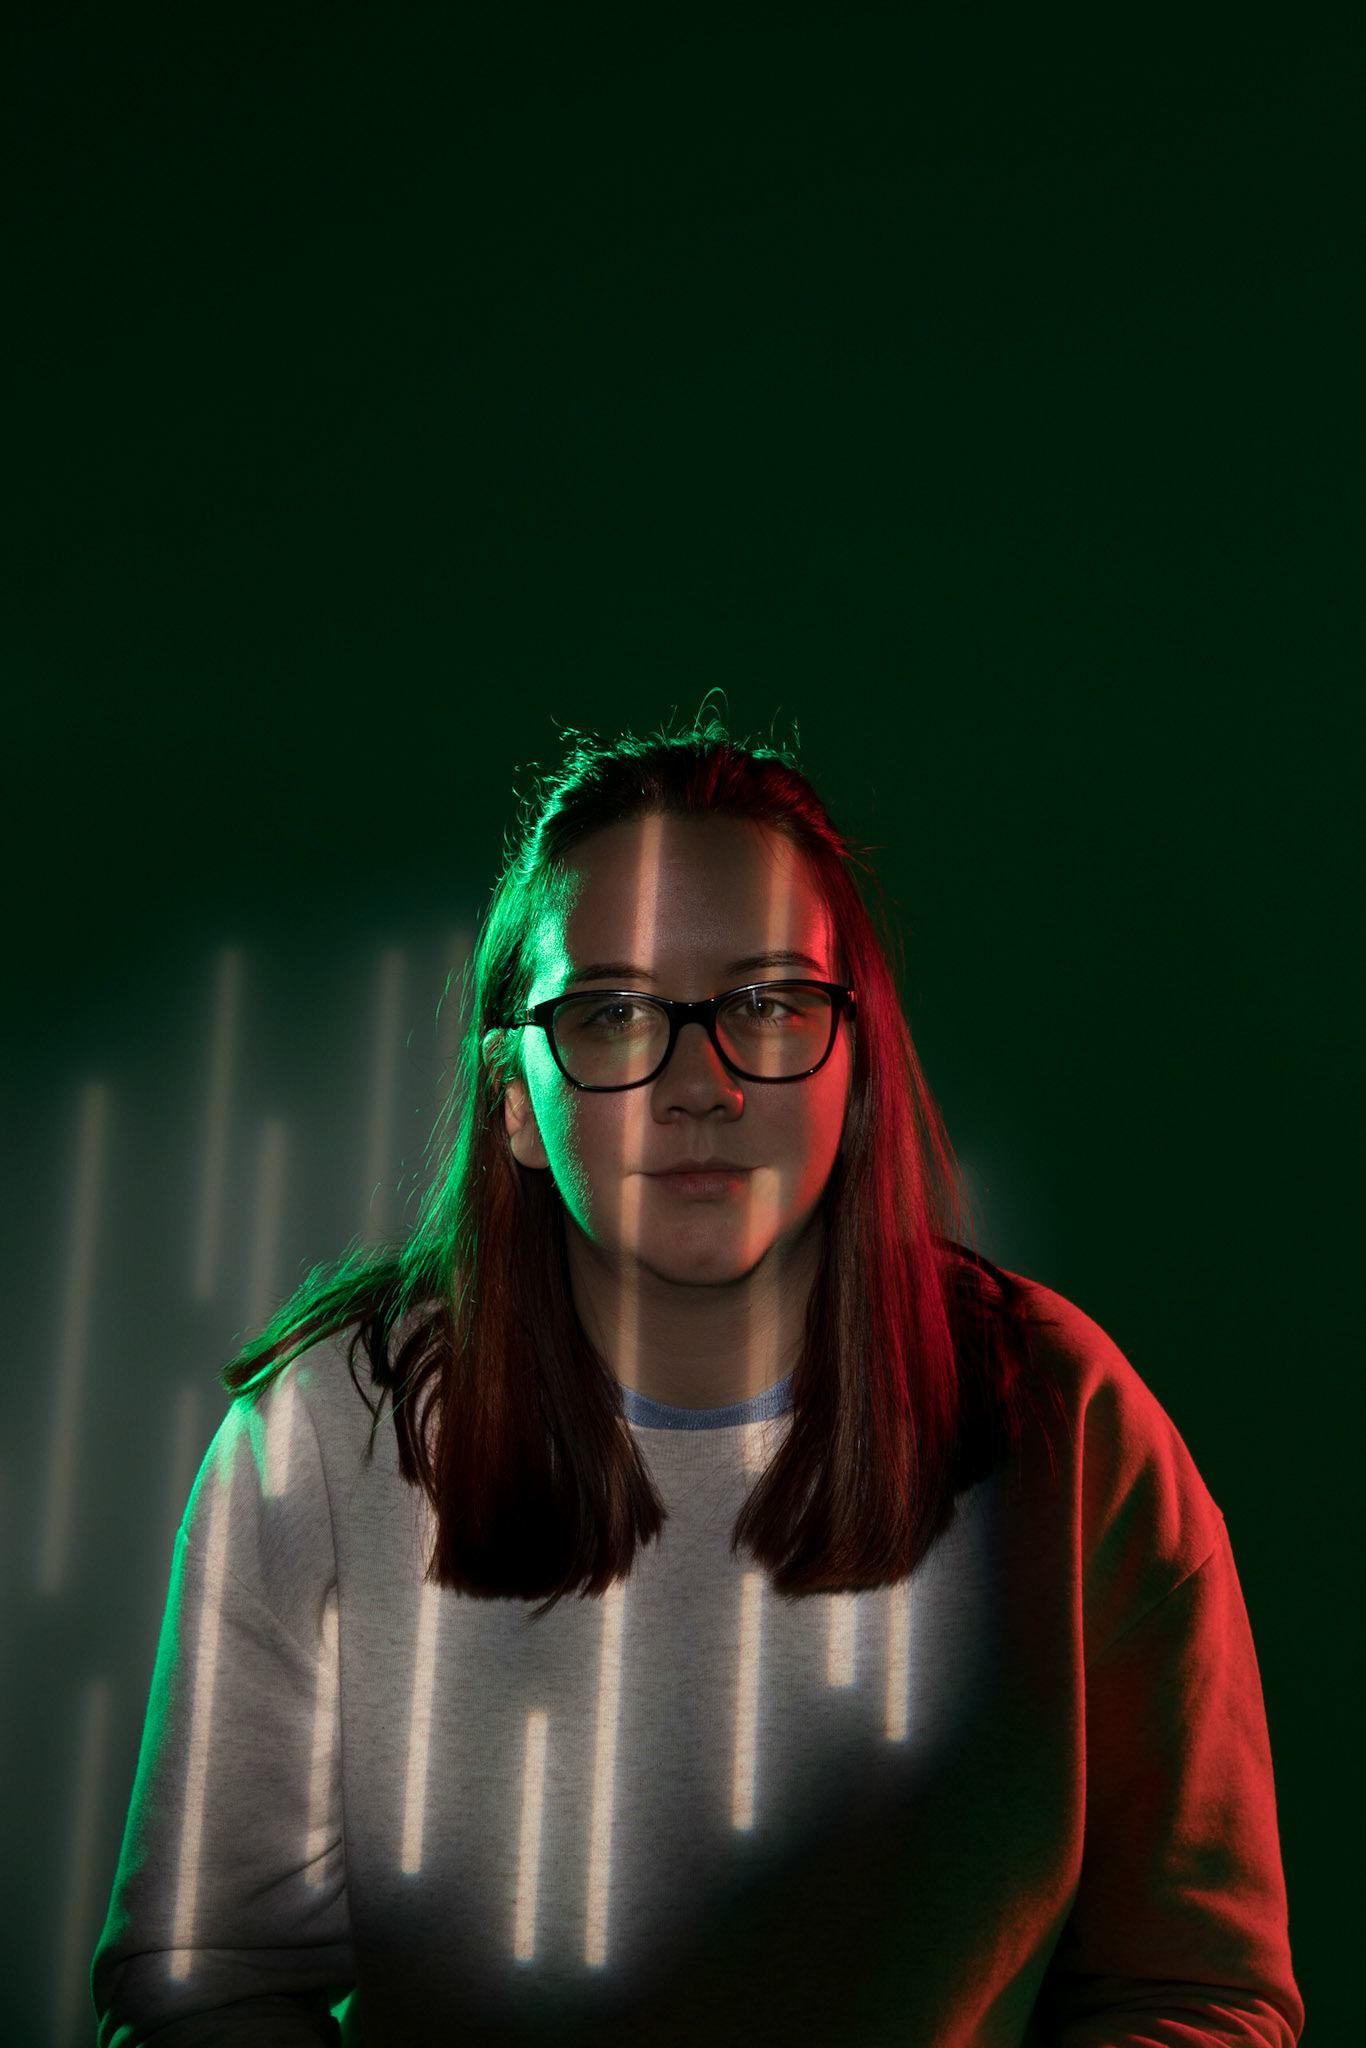
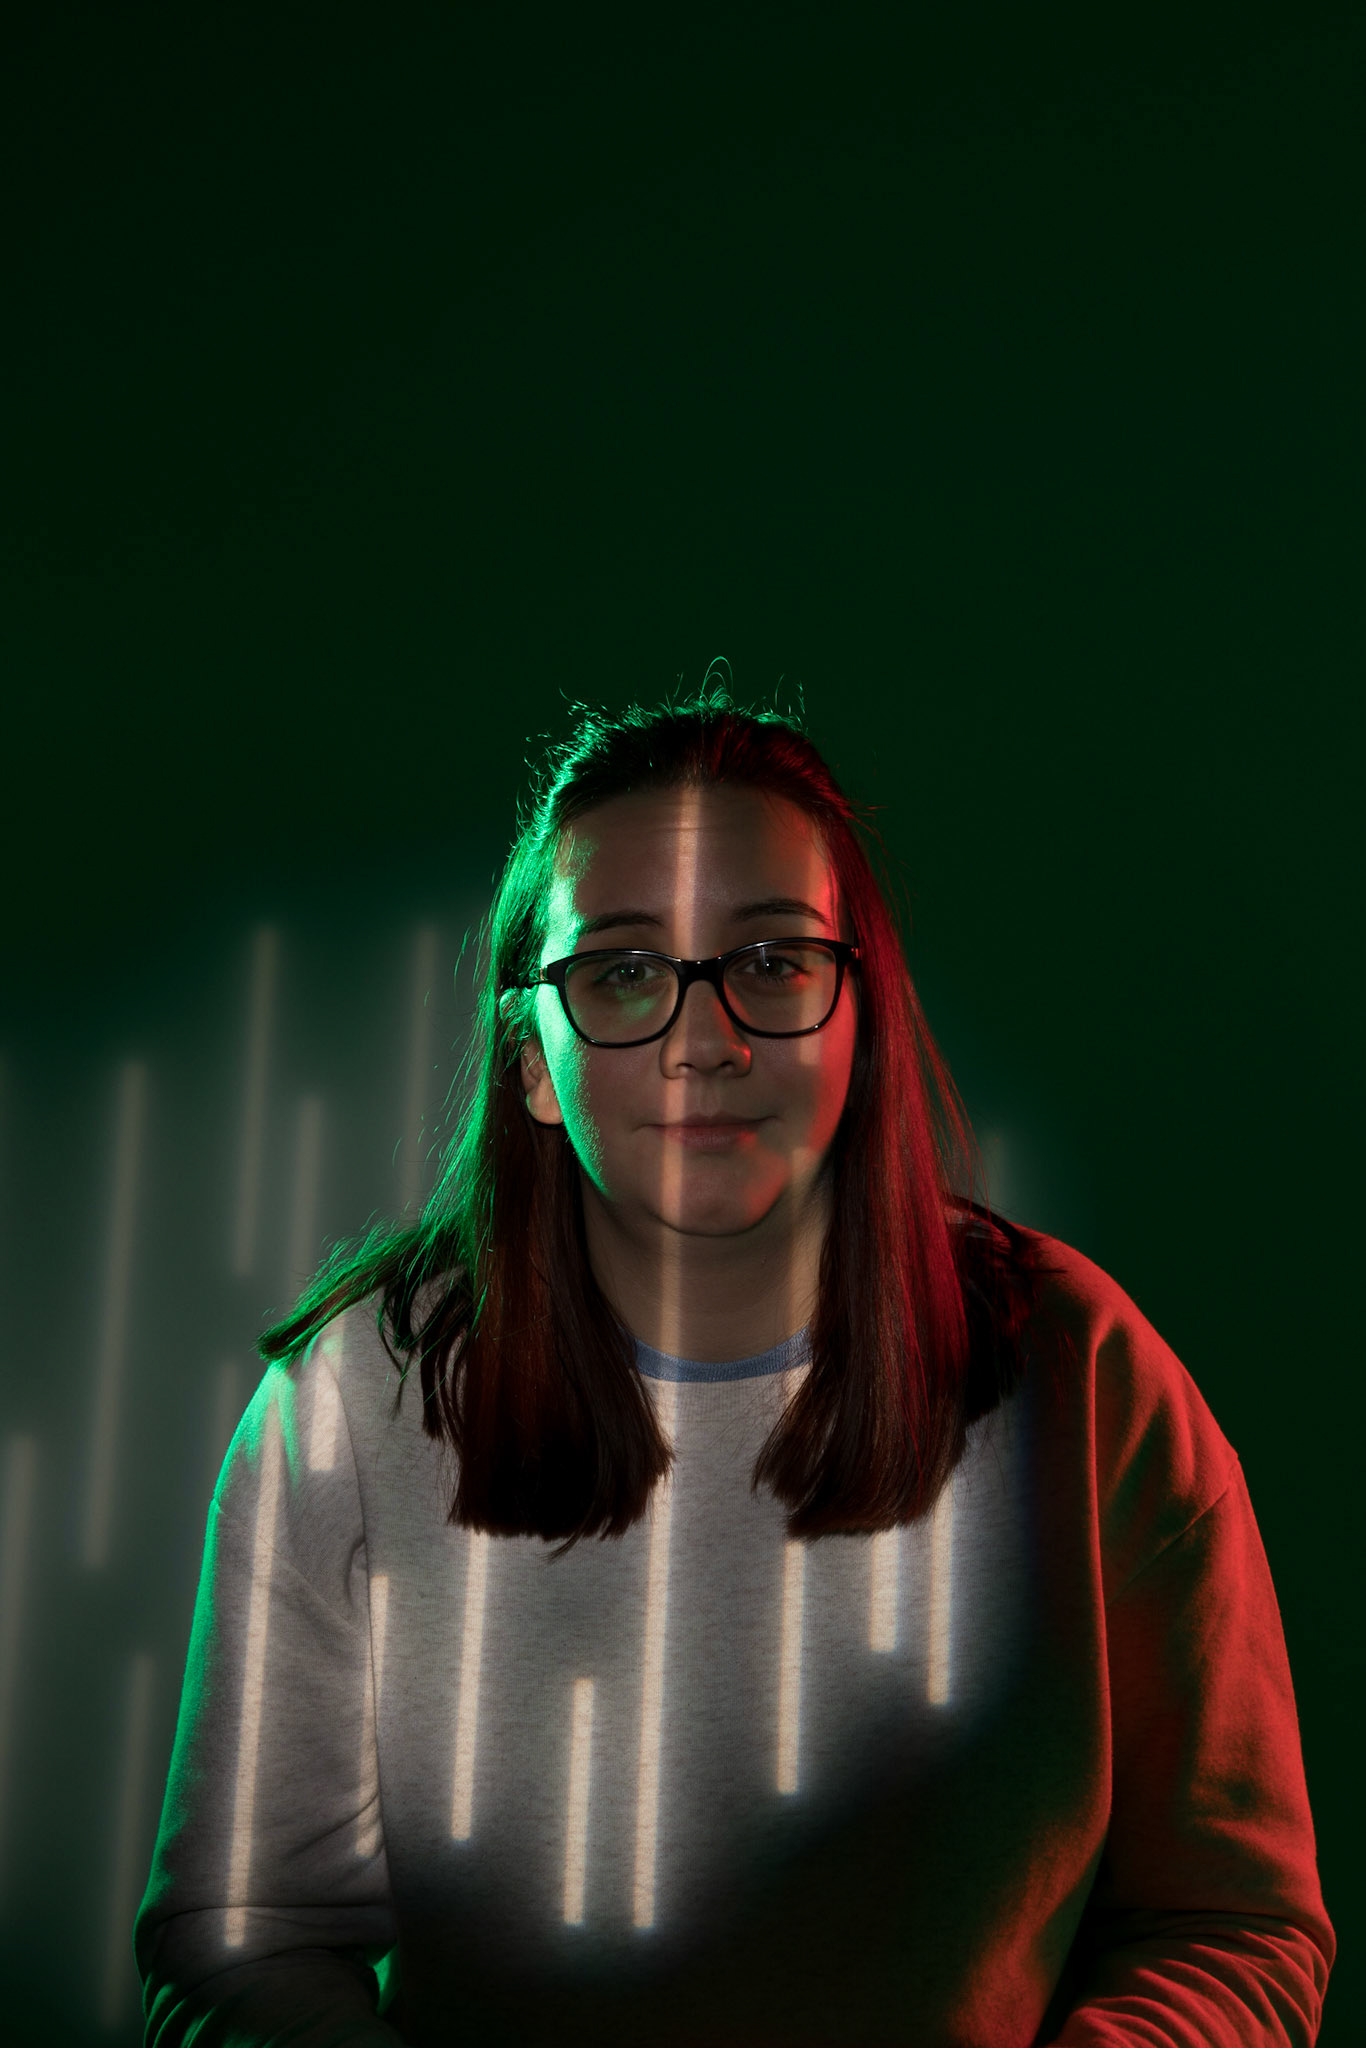
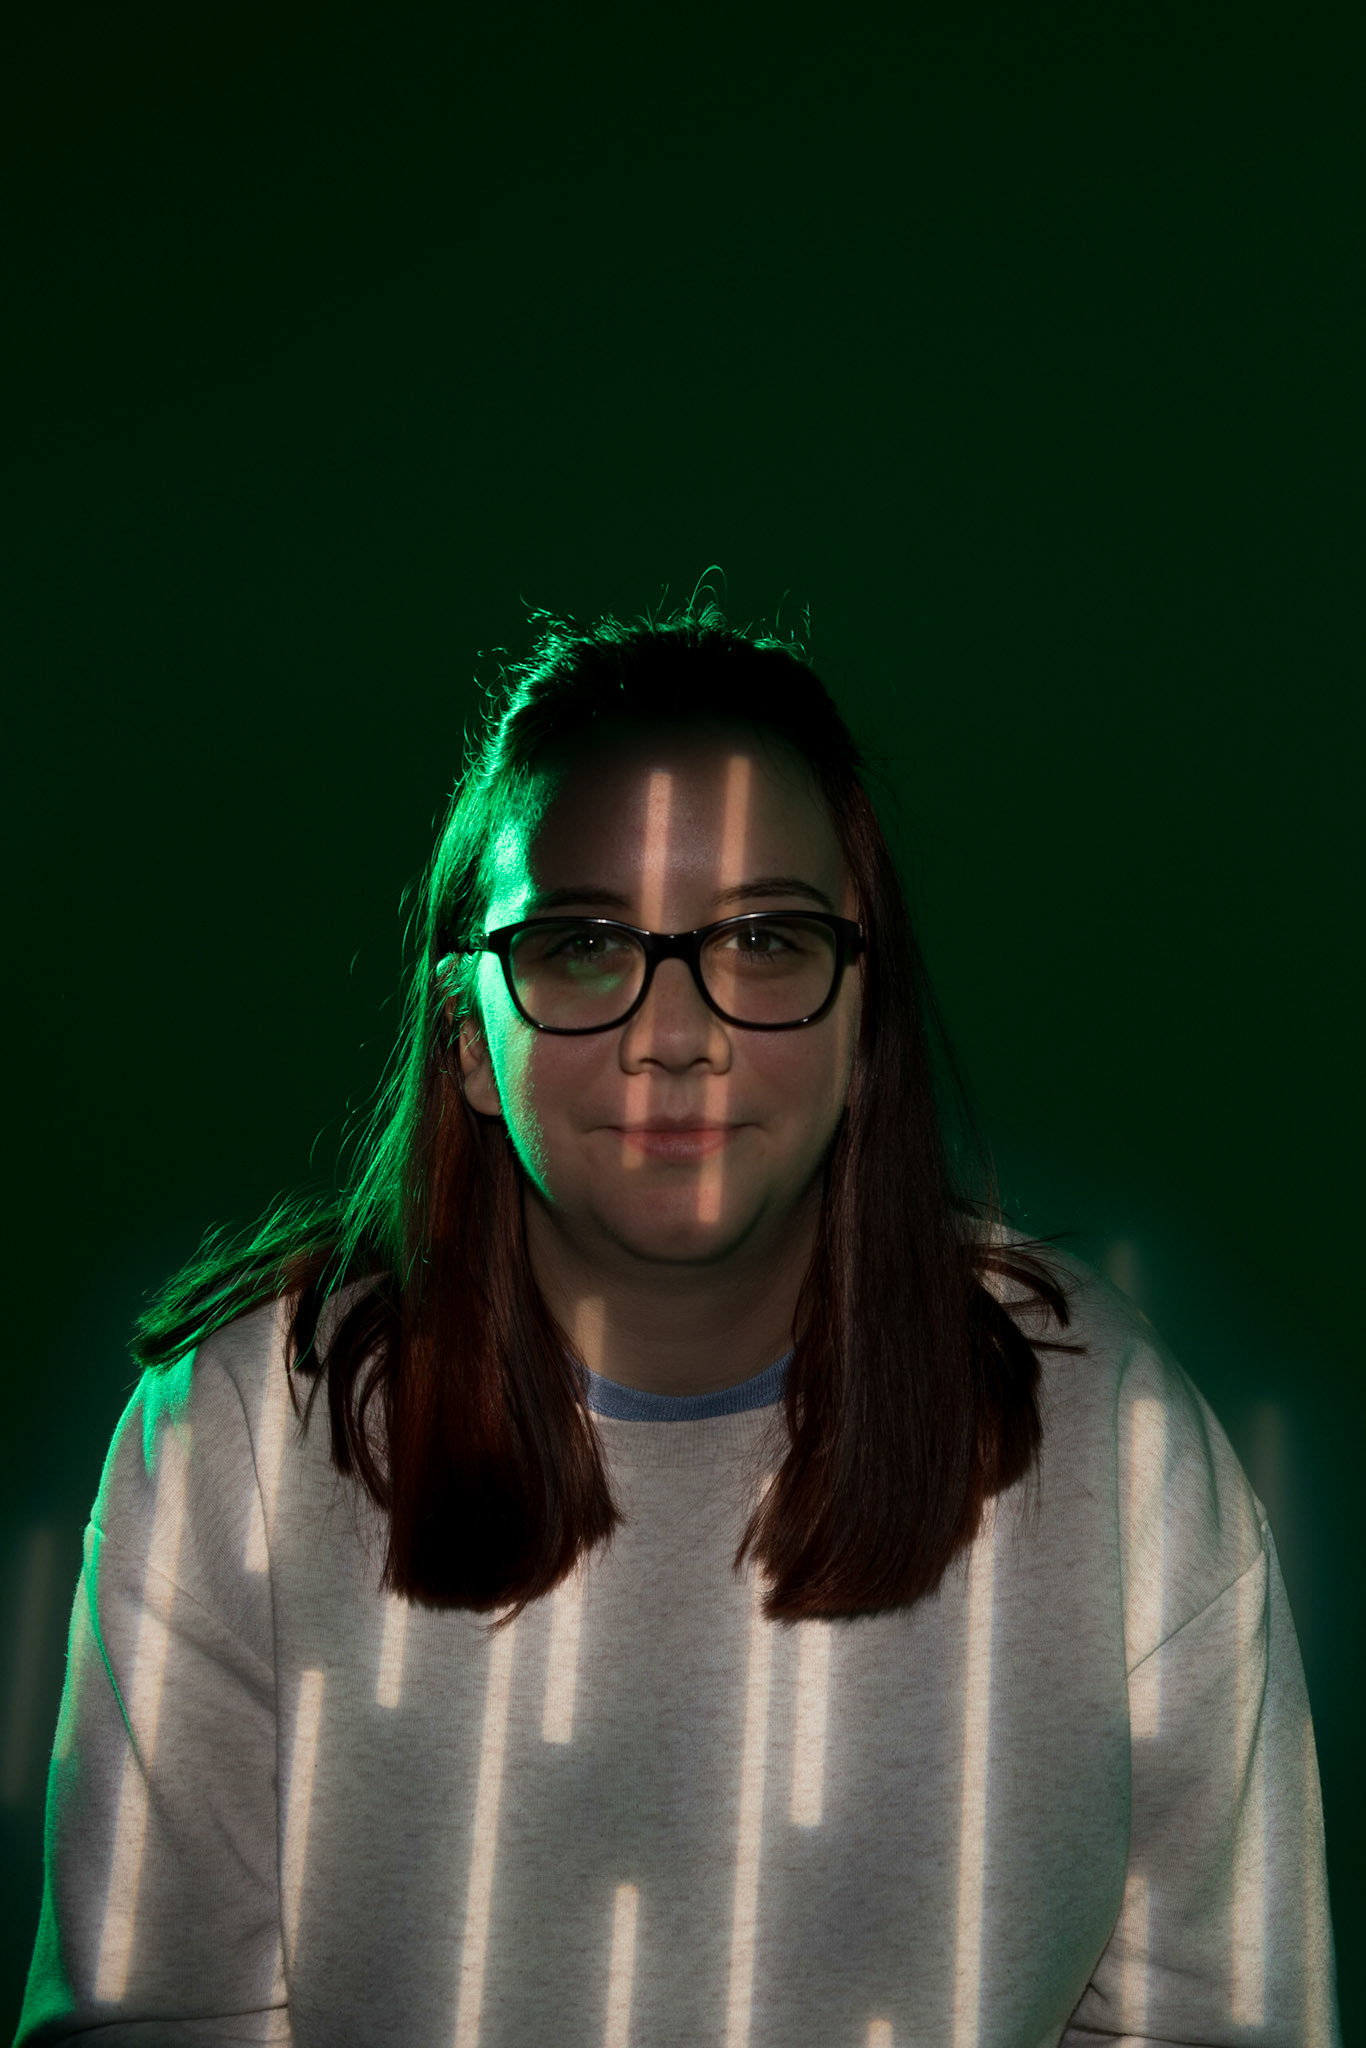

When using Gobo's, a white backdrop will help to define the shape produced in the light.
You can also us a honeycomb light attachment to provide some edge lighting. Doing this exaggerates the film noir effect by providing a hard, directly lit area of the image.

References
David Bailey Portraits. (2017). [image] Available at: https://www.theguardian.com/artanddesign/gallery/2014/feb/05/national-portrait-gallery-david-bailey [Accessed 4 Oct. 2017].
En.wikipedia.org. (2018). Gobo (lighting). [online] Available at: https://en.wikipedia.org/wiki/Gobo_(lighting) [Accessed 4 Oct. 2017].
Jake Hicks Photography. (2018). Spotlight. [online] Available at: http://jakehicksphotography.com/ [Accessed 4 Oct. 2017].
visualartists.com, V. (2018). Visual Artists — {{ pageTitle }}. [online] www.visualartists.com. Available at: http://www.visualartists.com/artist/davidbailey/ [Accessed 4 Oct. 2017].